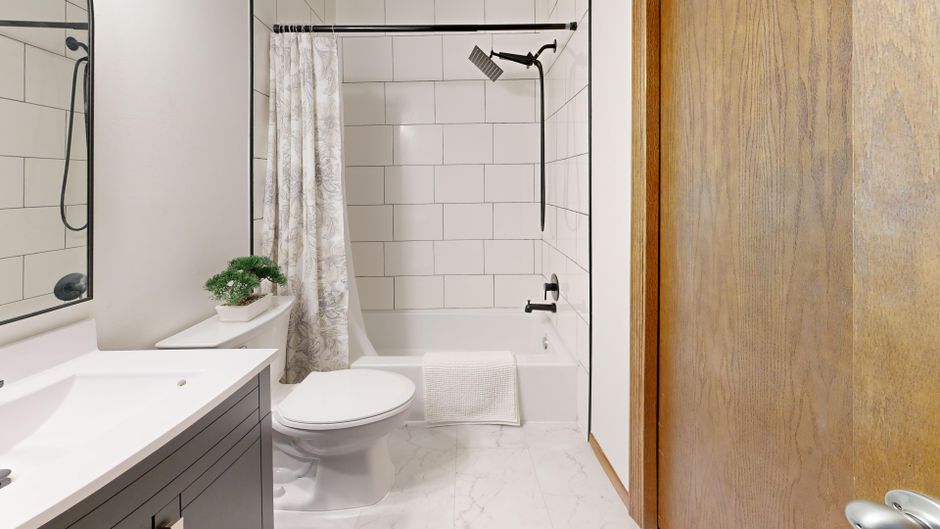
My 2008 builder-grade vanity had a peeling laminate top and a drawer that never closed right. I priced out new vanities at Lowe’s and Home Depot — $600 for something decent, $1,200 for solid wood. That wasn’t happening.
So I built one myself. Total cost: $285. It took two weekends, one trip to the hardware store for a part I broke, and a lot of patience with plumbing. Here’s the full breakdown.
Why a Stock Vanity Costs So Much (and Why You Shouldn’t Buy One)
Walk into any big-box store and you’ll see vanities at $400-$800. They’re made from MDF with a laminate veneer. The drawers are dovetail-less particleboard. The soft-close hinges are plastic. And the sink top? Usually a thin sheet of cultured marble that stains within a year.
The markup comes from the countertop, sink basin, and faucet being bundled together. But those components are cheap — the countertop is often just a $40 slab of engineered stone. You’re paying for assembly labor and shipping weight.
My approach: buy a bare cabinet frame from a lumber supplier (solid pine, unfinished), then source the sink and faucet separately. The cabinet cost $110. The sink was $45 at a plumbing supply house. The faucet was a Moen Adler from Amazon for $52. I spent $78 on lumber, paint, hardware, and plumbing parts.
If you want a vanity that lasts 15 years instead of 4, don’t buy a pre-assembled unit from a box store. Build or assemble your own from solid wood.
What You Actually Need (and What You Don’t)

I see people buy vanity installation kits with 47 pieces. You need maybe 10 things.
Must-Have Parts
- Cabinet box — solid wood or high-quality plywood. Avoid MDF. I used a 30″ unfinished pine base cabinet from a local lumber yard. $110.
- Sink basin — drop-in or undermount. I went with a 19″ x 16″ white porcelain drop-in from a plumbing supply store. $45.
- Faucet — Moen Adler 1-handle. $52 on Amazon. Look for a brand with easily replaceable cartridges.
- P-trap kit — PVC, 1.25″. $8.
- Supply lines — braided stainless steel, 12″. $6 each.
- Shut-off valves — 1/4-turn compression. $8 each.
Tools You Probably Already Own
- Drill with bits
- Level (a 4′ level is best)
- Stud finder
- Hacksaw (for cutting the drain pipe)
- Caulk gun
Don’t buy a “vanity installation kit.” It’s a box of cheap screws, plastic anchors, and a template you’ll never use. You’ll spend $25 on junk.
The 4 Mistakes That Cost Me an Extra Day
I made mistakes. You don’t have to.
Mistake 1: Not checking the drain location before buying the cabinet. My old vanity had the drain centered. The new cabinet had a back panel that blocked the drain pipe. I had to cut a hole in the back panel with a jigsaw. Measure your drain offset from the wall and buy a cabinet with an open back or cut it yourself.
Mistake 2: Assuming the shut-off valves would work. They were 20 years old. The handles snapped off when I turned them. Replace shut-off valves before you install the vanity. It’s a $16 fix that saves a plumbing emergency.
Mistake 3: Not shimming the cabinet level. The floor in my 1950s house slopes 1/4″ over 30 inches. I set the cabinet on the floor, tightened it to the wall, and the sink was visibly tilted. I had to loosen everything, slide shims under the front, and re-tighten. Always check for level in both directions before securing.
Mistake 4: Using plumber’s putty on the sink drain. Putty works for metal drains. My sink had a rubber gasket. The putty squeezed out and looked terrible. I had to remove it, clean the sink, and reinstall with just the gasket. Read the sink’s installation instructions — most modern drains use silicone or a gasket-only seal.
Step-by-Step: How I Did It in 6 Hours
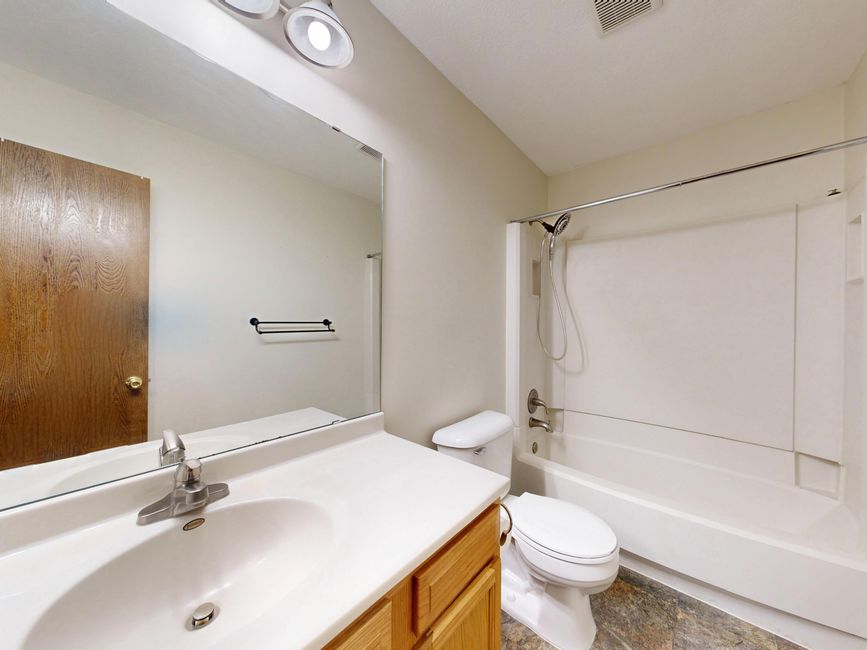
Here’s the actual sequence, not the “15 easy steps” you see on Pinterest.
- Turn off water and disconnect old vanity. Shut off water at the valves. Disconnect supply lines. Remove the old vanity by unscrewing it from the wall studs. Expect the old caulk to fight you — use a putty knife and a lot of elbow grease.
- Patch and paint the wall. The old vanity left a 1/2″ gap of unpainted wall. I used spackle on the screw holes and painted two coats of semi-gloss white. Let it dry overnight.
- Install shut-off valves. Remove old valves. Wrap pipe threads with Teflon tape (3 wraps, clockwise). Tighten new compression valves by hand, then a quarter turn with a wrench. Do not overtighten.
- Position the cabinet and shim it level. Slide the cabinet into place. Use a 4′ level on top. Shim under the front corners until it’s level. Check side-to-side and front-to-back.
- Secure the cabinet to the wall. Screw through the back rail into wall studs. Use 2.5″ deck screws. If you can’t hit a stud, use toggle bolts rated for 50 lbs minimum.
- Install the sink and faucet. Place the sink on the cabinet. Mark the faucet hole. Drill with a 1.25″ hole saw. Mount the faucet from below. Drop the sink into place. Silicone caulk around the edge.
- Connect the plumbing. Attach supply lines to shut-off valves and faucet. Hand-tighten plus a quarter turn. Connect the P-trap to the drain pipe. Test for leaks by running water for 2 minutes.
Total time: 6 hours spread over two days (waiting for paint to dry).
Cost Breakdown (Exact Numbers, No Fluff)
| Item | Where I Bought It | Price |
|---|---|---|
| 30″ pine base cabinet (unfinished) | Local lumber yard | $110 |
| White porcelain drop-in sink (19″x16″) | Plumbing supply store | $45 |
| Moen Adler 1-handle faucet | Amazon | $52 |
| PVC P-trap kit (1.25″) | Home Depot | $8 |
| Braided supply lines (2x 12″) | Home Depot | $12 |
| 1/4-turn shut-off valves (2) | Home Depot | $16 |
| Paint (1 quart semi-gloss white) | Home Depot | $14 |
| Shims, screws, caulk, Teflon tape | Home Depot | $12 |
| Hole saw (1.25″) | Home Depot | $8 |
| Total | $285 |
I saved about $315 compared to a comparable pre-built vanity. And my cabinet is solid pine, not MDF.
When You Should NOT Do This Yourself
This project isn’t for everyone. Here’s when you should hire a pro or buy a pre-built unit.
If your floor is severely unlevel — more than 1/2″ over 30 inches. Shimming that much is ugly and unstable. You’ll need to sister the floor joists or install a leveling sub-base.
If your drain pipe comes out of the wall at an odd height. My drain was 18″ off the floor — standard. If yours is 6″ off the floor, you’ll need to cut and reroute the drain pipe inside the wall. That’s a plumber’s job.
If you have zero tolerance for imperfection. My vanity has a 1/16″ gap between the cabinet and the wall on one side. I caulked it. It’s fine. If that bugs you, buy a pre-built vanity with a finished back.
If your existing plumbing is galvanized steel. Those pipes rust and won’t accept modern compression fittings. You’ll need to replace them with copper or PEX inside the wall. That’s not a weekend job.
For everyone else: a $285 solid wood vanity that looks custom is absolutely achievable. The key is buying the cabinet separately from the sink and faucet. Skip the box store bundles.
My vanity has been in for 8 months now. The paint hasn’t chipped. The drawer still slides smoothly. And every time I walk in, I remember that I built it for less than a dinner for two at a decent restaurant.