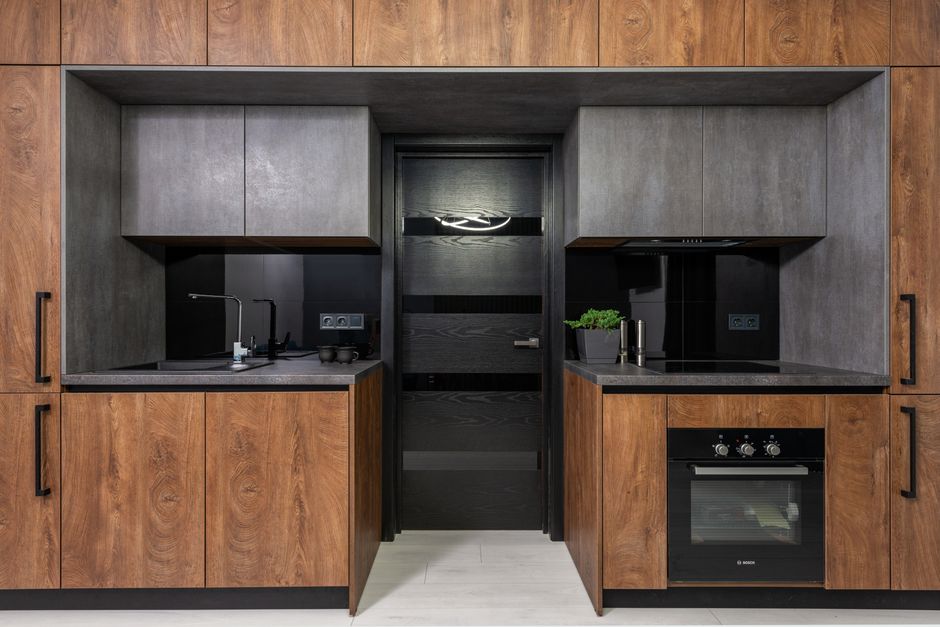
Full kitchen remodels in 2026 average $25,000 to $50,000. Cabinet replacement alone can eat $8,000 of that. Refinishing your existing cabinets cuts that cost by 90% — typically $300 to $600 in materials — and delivers the same visual impact. The catch: prep work separates a pro-level finish from a peel-and-chip disaster.
Why Refinishing Beats Replacing for Most Kitchens
Cabinet boxes from the 1990s and 2000s are often built better than entry-level stock cabinets sold today. Solid plywood boxes with dovetail drawers last 30+ years. The dated look comes from the door style, the wood stain, and the hardware — all fixable without demolition.
Refinishing works best when your existing cabinets are structurally sound. No water damage, no delaminated particle board, no broken hinge mounts. If the boxes are solid, you’re throwing money away by ripping them out.
When to Replace Instead
Replace if you find soft spots near the sink (water damage), particle board swelling at the base, or if the cabinet layout genuinely doesn’t work for your cooking flow. Layout changes — moving a stove, adding an island — require new cabinets. Everything else is refinishable.
The Real Cost Breakdown
| Item | Budget Option | Premium Option |
|---|---|---|
| Primer (1 gallon) | Zinsser BIN Shellac ($25) | Stix Waterborne ($35) |
| Paint (1 gallon) | Benjamin Moore Advance ($48) | Fine Paints of Europe ($75) |
| Sanding supplies | 3M Sanding Sponges ($12) | Festool Granat discs ($25) |
| New hardware (20 pulls) | IKEA KUNGSFORS ($40) | Top Knobs Tuscany ($120) |
| Degreaser + tack cloth | Simple Green + generic ($10) | Krud Kutter + 3M tack cloth ($15) |
| Total | $135 | $270 |
That’s for a 10-door, 5-drawer kitchen. Add $50–$100 if you need a paint sprayer (the Wagner Flexio 3000 at $65 works fine).
Prep Work: The 80% That Determines the Final 20%
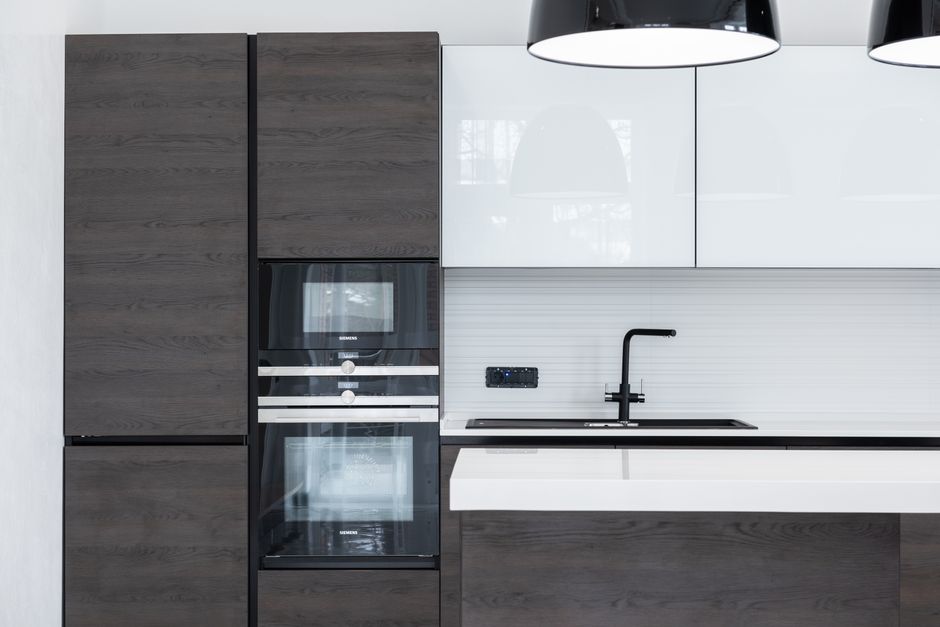
Skip degreasing or skip sanding and your paint will fail within 6 months. Kitchen cabinets accumulate cooking oils, hand grease, and airborne grime. Paint cannot bond to grease.
Step one: remove all doors, drawers, and hardware. Label each door with painter’s tape on the back — write the location (“upper left”, “sink base”). Number the hinges if you’re reusing them.
Step two: degrease everything. Use Krud Kutter or TSP substitute. Apply with a sponge, scrub, rinse with clean water, let dry. Grease test: run your finger along the top edge of a door. If it feels slick, degrease again.
Step three: sand. 120-grit on flat surfaces, 150-grit on edges. You’re not stripping to bare wood — just scuffing the existing finish so primer can grip. Wipe dust with a tack cloth. Do not skip this.
Step four: fill old hardware holes if you’re changing pull placement. Use Bondo Glazing Putty ($8 at Home Depot). Sand smooth after 30 minutes.
The Primer Decision
Zinsser BIN Shellac primer is the gold standard for cabinets. It blocks tannin bleed from oak, sticks to almost anything, and dries in 30 minutes. The downside: it smells like rubbing alcohol and requires mineral spirits for cleanup. Water-based alternatives like Stix or Kilz Premium are less stinky but need 24-hour cure before sanding.
Paint Selection: Which Finish Holds Up to Daily Abuse
Latex wall paint will chip on cabinet doors within weeks. You need a paint formulated for trim and cabinetry — high-adhesion, self-leveling, and hard-curing.
Benjamin Moore Advance is the most reliable choice for DIYers. It self-levels — brush strokes disappear as it dries. Cure time is 7 days before you should slam doors, but the final hardness rivals factory finishes. Cost: $48 per gallon.
General Finishes Milk Paint works if you want a matte, furniture-like finish. It’s water-based, low-odor, and cures hard in 48 hours. But it requires a topcoat (their High Performance Topcoat, $30) for kitchen durability. That adds cost and time.
Rust-Oleum Cabinet Transformations is the budget kit ($40 for a set that covers 8 doors). It includes a deglosser instead of sanding. It works — but the finish is softer than Advance, and the color range is limited to 12 shades. Fine for a rental refresh, not for a 10-year kitchen.
My pick for most kitchens: Benjamin Moore Advance in a satin sheen. It’s hard enough to scrub, soft enough to hide fingerprints, and available in any Benjamin Moore color. For a modern kitchen, try “Chantilly Lace” (white) or “Chelsea Gray” (warm gray).
Spray vs. Roll vs. Brush
Spraying gives the smoothest finish. A $65 Wagner Flexio 3000 with the fine-finish tip produces factory-level results. You need a well-ventilated space and patience with masking. Rolling with a 4-inch foam roller (Whizz brand, $3) followed by a light brush tip on the corners works almost as well. Brushing alone leaves streaks.
Three Common Failures and How to Prevent Them
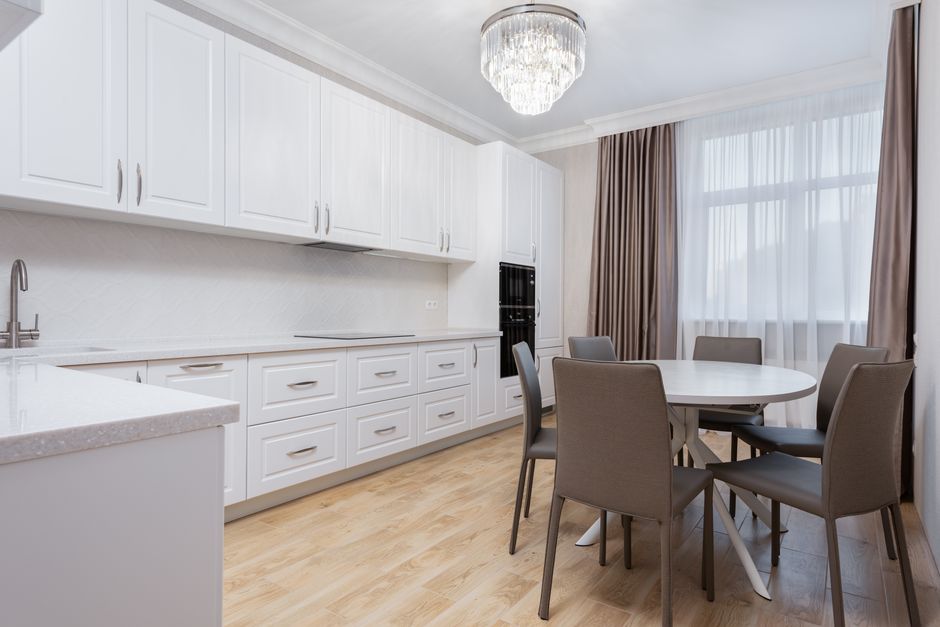
1. Chipping along door edges. This happens when paint bridges into the gap between the door panel and the frame. Before painting, run a fingernail along the seam. If the old finish is cracked, sand it flush and apply a thin coat of primer into the crack. Paint can’t bridge a gap wider than a credit card.
2. Sticky doors after reassembly. You waited 24 hours for paint to dry but the doors still stick. Cabinets need 7–14 days for full cure, especially with water-based paint. During that window, the paint is still soft. Open and close doors gently. If they stick, sand the tight edge with 220-grit and reapply a thin coat. Or wait another week.
3. Yellowing white paint. Oil-based paints yellow over time. Water-based acrylics don’t. If you want white cabinets, never use oil-based paint or oil-based primer under white. Stick with 100% acrylic water-based products. Benjamin Moore Advance is a waterborne alkyd — it stays white.
Hardware: The $50 Upgrade That Changes Everything
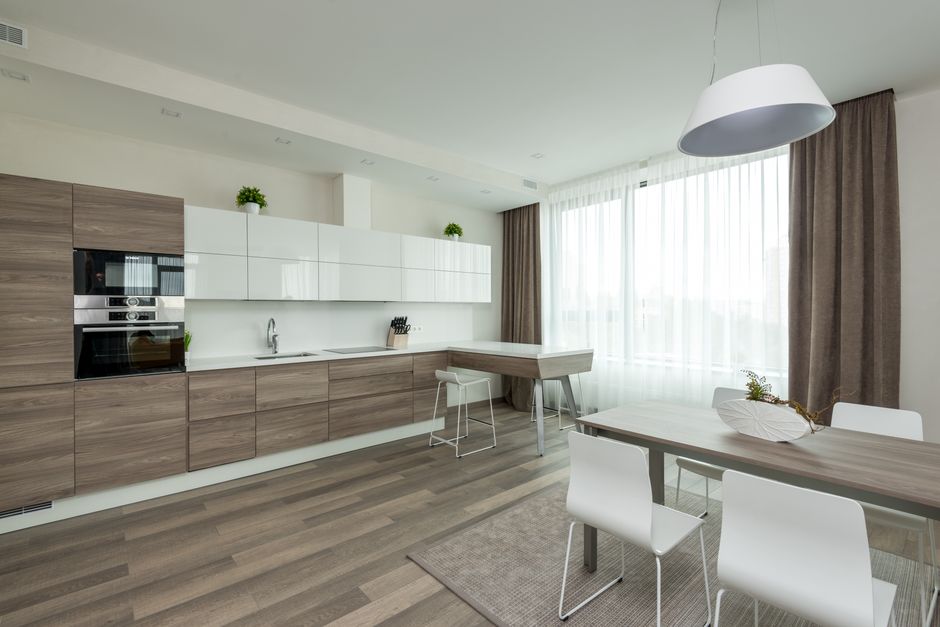
New cabinet pulls and knobs are the highest-impact low-cost change in a kitchen. You can spend $2 per pull or $30 per pull. For a modern look, go with bar pulls in brushed nickel or matte black. Length matters: 5-inch to 7-inch pulls on drawers, 3-inch to 4-inch on doors.
Budget pick: IKEA KUNGSFORS bar pulls ($4 for a 2-pack). Clean stainless steel, modern profile, 5.5-inch length. For $40 you can outfit a whole kitchen.
Mid-range pick: Amerock BP56077 in brushed nickel ($6 each). Slightly heavier gauge metal, better feel in the hand, and available at Home Depot same-day.
Replace hinges only if they’re visibly worn or if you’re switching from exposed hinges to concealed ones. Exposed hinges date a kitchen more than the cabinet color. A 10-pack of concealed hinges from Amazon runs $25.
One rule: buy all hardware at once from the same brand and finish line. Mixing “brushed nickel” from two brands can give you slightly different undertones — one warm, one cool. It shows.