Most people think a bathroom makeover requires a contractor, a permit, and at least three grand. That’s true if you’re moving plumbing or tearing out tile. But for a guest bathroom that just looks tired — beige walls, a foggy mirror, a faucet that drips — the real barrier isn’t money. It’s knowing what to touch and what to leave alone.
I spent $487 and four weekends on a 5×7 guest bath. Here’s exactly where the money went, what I screwed up, and why you should skip the peel-and-stick tile everyone recommends.
Why $500 Is the Sweet Spot for a Guest Bath
A guest bathroom doesn’t need heated floors or a rain shower. Guests want three things: a clean toilet, a mirror that isn’t fogged, and a towel that doesn’t smell like last year. Anything beyond that is decoration, not function.
The $500 limit forces hard choices. You can’t replace the vanity or the tub. But you can change the color of both. The trick is spending on the three things people actually touch — the faucet, the mirror, and the lighting — and saving on everything else.
I skipped the tile entirely. Instead of replacing the 1980s floor, I painted it with a two-part epoxy. That saved $200 right there.
The One Thing Worth Splurging On
Buy a Delta Faucet Lahara ($89 at Home Depot). It’s the cheapest faucet Delta makes that uses their diamond seal technology. Cheaper faucets from off-brands will drip within two years. This one won’t. I installed it in 45 minutes with a basin wrench and a tube of plumber’s putty.
Budget Breakdown: Where the $487 Went
| Item | Price | Where I Bought It |
|---|---|---|
| Rust-Oleum Tub & Tile Refinishing Kit (white) | $32 | Amazon |
| Delta Faucet Lahara (chrome) | $89 | Home Depot |
| IKEA LILLÅNÄS mirror (60x80cm) | $79 | IKEA |
| Sherwin-Williams Duration paint (Sea Salt) | $52 | Sherwin-Williams |
| Rust-Oleum EpoxyShield floor coating (1 gal) | $45 | Home Depot |
| Vanity hardware (2 pulls, brushed nickel) | $12 | Amazon |
| LED vanity light bar (3-light, 3000K) | $58 | Amazon |
| New toilet seat (slow-close, white) | $28 | Home Depot |
| Caulk, painter’s tape, brushes, drop cloths | $42 | Misc. |
| Mistake #1: Wrong epoxy primer | $50 | Wasted |
| Total | $487 |
Mistake #1 cost me $50. I bought a water-based epoxy primer for the floor. It peeled off in sheets after three days. The oil-based Rust-Oleum EpoxyShield was the right choice. Don’t cheap out on primer.
How to Paint a Bathtub (Without Ruining It)
This is the part that scares people. It shouldn’t. The Rust-Oleum Tub & Tile kit costs $32 and covers a standard tub. You don’t need a sprayer. You need patience and a 4-inch foam roller.
The Process (Takes One Weekend)
Day 1: Clean the tub with TSP. Sand everything with 220-grit sandpaper. Wipe dust. Apply the etching solution from the kit. Rinse. Wait 4 hours.
Day 2: Stir the epoxy paint for 3 minutes. Roll it on in thin coats. Do three coats, waiting 2 hours between each. Don’t back-roll too much — it creates bubbles. Let it cure for 72 hours before using the shower.
Six months later, the finish still looks like new porcelain. It’s not as hard as real enamel, so don’t drop a hairdryer on it. But for a guest bath that gets used twice a month? It’s perfect.
The Mirror Swap That Changed Everything
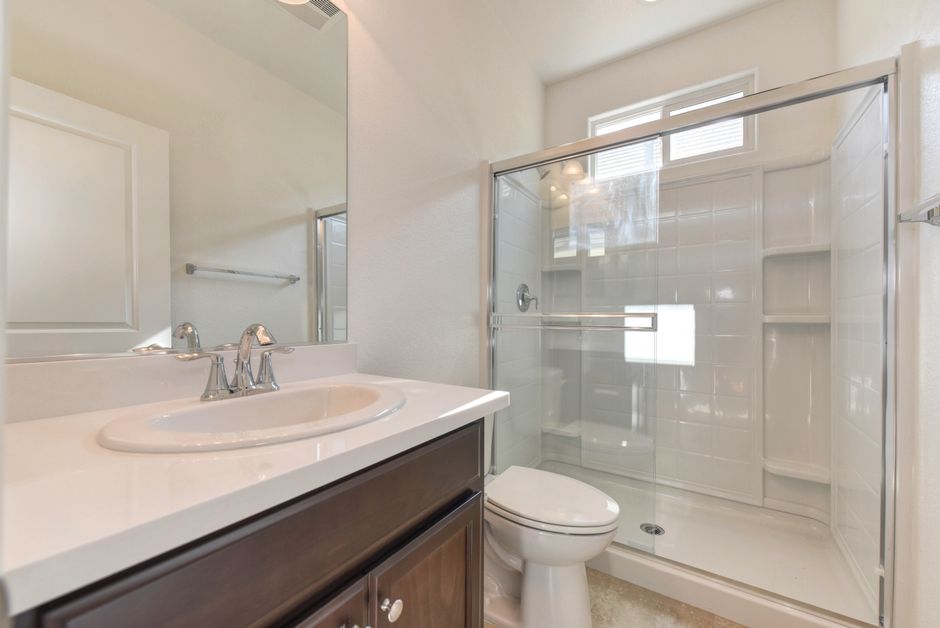
The builder-grade mirror was a 4×3 sheet of glass glued to the wall. Removing it required a hammer, gloves, and a lot of swearing. I replaced it with the IKEA LILLÅNÄS ($79).
Why this mirror: It has a built-in shelf. That means guests don’t have to put their toothbrush on the sink edge. It’s 60x80cm — big enough for two people to see themselves side-by-side. The frame is aluminum, so it won’t warp in the humidity.
Installation tip: Use toggle bolts, not drywall anchors. The mirror weighs 12 pounds. Drywall anchors will fail within a year.
Three Mistakes That Will Cost You Time and Money
I made all three so you don’t have to.
1. Painting over old caulk. I left the old caulk around the tub because it looked fine. The new paint cracked along the caulk line within a week. I had to scrape it all off, re-caulk with 100% silicone, and repaint. That added a full day.
2. Using the wrong paint finish. Satin paint on the walls shows every roller mark. Semigloss is better for bathrooms — it’s more moisture-resistant and hides imperfections. I used Sherwin-Williams Duration in semigloss. It costs $5 more per gallon. Worth it.
3. Skipping the vent fan upgrade. I didn’t budget for a new fan. The old one still runs, but it’s loud and moves almost no air. A Panasonic WhisperValue fan costs $85 and is silent. I should have swapped it. Don’t skip this if your bathroom has no window.
When You Should NOT Do a $500 Makeover
This approach works for cosmetic issues only. If your bathroom has any of these problems, save your $500 and call a plumber instead:
- Water damage — soft spots in the floor or wall mean rot behind the tile. Paint won’t fix that.
- Mold behind the walls — if you smell mildew constantly, you have a moisture problem that needs demolition.
- Plumbing that leaks — a dripping shower valve or loose toilet flange will destroy your new paint job within months.
For a bathroom that’s structurally sound but visually tired, $500 is plenty. For a bathroom that’s rotting from the inside, $500 is a waste of paint.
What Guests Actually Noticed
I asked everyone who used the bathroom for a month. Here’s what they mentioned:
- The mirror shelf (five people mentioned it)
- The soft-close toilet seat (four people)
- The paint color (three people said it felt “calm”)
- The faucet handle (two people said it felt “solid”)
Nobody mentioned the painted tub or the epoxy floor. That’s the point. The things that cost the most effort (painting the tub) are invisible when done right. The things that cost the least (a $28 toilet seat) get the most compliments.
That old beige bathroom now looks like it belongs in a 2026 catalog. It took four weekends, $487, and one expensive mistake. If you’re staring at a dated guest bath right now, start with the mirror and the faucet. Everything else is just paint.