I’ve painted, planted, and power-washed my way through three different houses over the last decade. Some projects looked great for a month. Others looked like regret after one rainstorm. Here’s what actually works.
These five projects cost less than $200 each and take one weekend. I’ve done every single one. The results are real.
1. Paint Your Front Door — The Highest ROI Project You’ll Ever Do
I don’t care what color your door is right now. If it’s peeling, faded, or builder-grade white, you’re losing money every day it stays that way. Real estate agents I’ve talked to say a fresh front door color adds 3-5% to perceived home value.
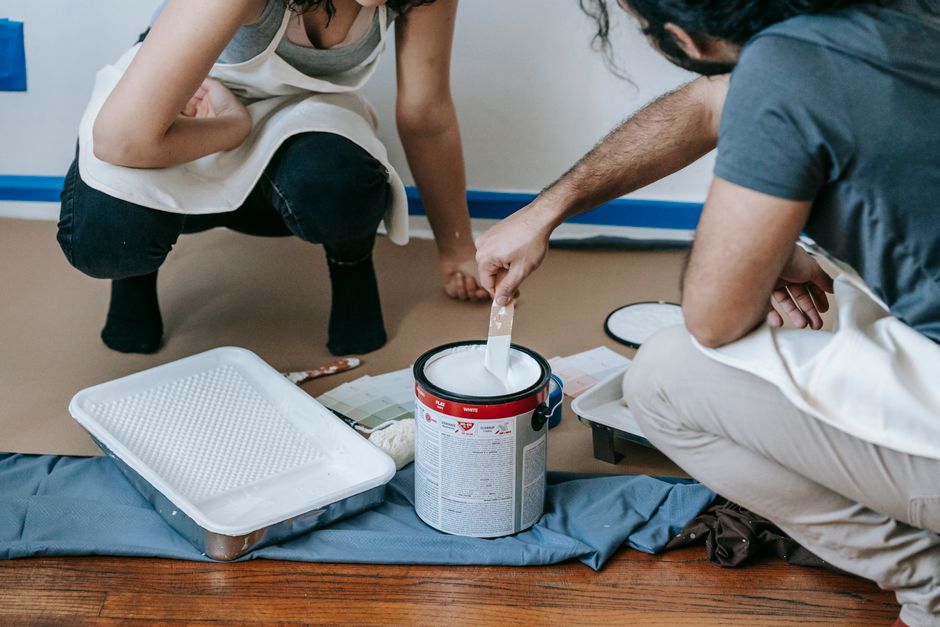
Here’s the trick most people screw up: don’t use standard exterior house paint. It’s too thick and it chips within six months. Use Sherwin-Williams Emerald Urethane Trim Enamel ($68 per gallon). It’s technically a trim paint, but it dries rock-hard, self-levels so you don’t get brush strokes, and holds up to direct sun for years.
My door has survived three Minnesota winters with zero chips. That’s a real test.
What You Actually Need
- One quart of Sherwin-Williams Emerald Urethane Trim Enamel in your color — I used Tricorn Black
- 2-inch angled brush (Wooster Silver Tip, $12)
- Blue painter’s tape (FrogTape, $8)
- Sanding block (120-grit)
- Zinsser Bulls Eye 1-2-3 Primer ($15)
Step-by-Step
- Remove hardware. Take off the knob, deadbolt, and hinges. Tape the strike plate if you’re lazy, but removing everything gives cleaner lines.
- Sand lightly. 120-grit, just enough to rough up the gloss. Wipe dust off with a damp cloth.
- Prime. One coat of Zinsser primer. Let it dry two hours.
- Paint. Two thin coats of the Emerald enamel. Wait four hours between coats. Do NOT rush this.
- Reinstall hardware. Wait 24 hours before closing the door all the way.
Total cost: about $45 if you already have sandpaper and tape. Total time: 4 hours spread over two days.
2. Edge Your Lawn Like a Professional
This is the cheapest project on this list. It’s also the one that gets the most comments from neighbors. A clean edge between your lawn and your driveway, walkway, or flower bed makes your entire yard look manicured.
Here’s the thing: a string trimmer won’t do this. It leaves a ragged edge that looks bad within a week. You need a manual lawn edger — the kind with a half-moon blade.
I use the Fiskars 28-Inch Bypass Pruner for plants, but for edging, grab the Ames 15-Inch Steel Edger ($25 at Home Depot). It’s a simple tool. You step on it and cut a clean line. That’s it.
How to Get a Perfect Edge
- Water the lawn the night before. Wet soil cuts cleaner.
- Cut 2-3 inches deep along the edge of the driveway or sidewalk.
- Pull the cut turf out. Fill the gap with black mulch or small pebbles.
- Edge once in spring, once in midsummer. That’s all you need.
Total cost: $25 for the edger, $10 for mulch if needed. Total time: 45 minutes.
One warning: don’t edge right before a heavy rain. The cut line will erode. Check the forecast.
3. Install Low-Voltage Path Lighting
I tried solar lights. Twice. They’re dim, they die after one season, and they look cheap. If you want real curb appeal after dark, low-voltage LED path lights are the only answer.
The Kichler 6-Pack LED Well Light ($120 on Amazon) is what I installed at my last house. They’re 12-volt, 4.5 watts each, and they put out a warm 2700K light that looks like moonlight. No glare, no blue tint.
| Feature | Solar Lights | Low-Voltage LED |
|---|---|---|
| Brightness | 10-30 lumens | 100-150 lumens |
| Runtime | 4-6 hours (less in winter) | 12+ hours (always full) |
| Lifespan | 1-2 seasons | 10+ years |
| Cost per fixture | $10-20 | $20-40 |
Installation in One Afternoon
- Buy a kit. The Kichler set includes the transformer, cable, and six lights.
- Dig a shallow trench. 3 inches deep along your walkway or flower bed.
- Run the cable. Lay it in the trench, connect each light with the included wire connectors.
- Mount the transformer. Plug it into an exterior GFCI outlet. Set the timer to dusk-to-dawn.
- Bury the cable. Cover it with dirt. Done.
Total cost: $120 for the kit. Total time: 3 hours.
I’ve had mine running for three years. Never replaced a bulb. Never had a failure.
4. Refresh Your House Numbers
This sounds trivial. It’s not. Your house numbers are the first thing delivery drivers, guests, and emergency services look for. If they’re faded, wrong-sized, or hidden by bushes, you have a problem.
I swapped my old plastic numbers for House of Antique Hardware’s 4-inch Cast Aluminum Numbers ($9 each). They’re matte black, they’re heavy, and they’ll outlast the house. No rust, no fading.
What to Do
- Measure first. Numbers should be at least 4 inches tall for visibility from the street. If your house is set back, go 6 inches.
- Mount them on a contrasting background. Dark numbers on a light wall, or light numbers on a dark wall. I mounted mine on a small cedar plaque ($15 at Michaels) attached to the siding.
- Use stainless steel screws. Not the ones that come in the package. They rust.
Total cost: $35-50 depending on how many digits. Total time: 1 hour.
Don’t use stick-on numbers. They fall off in two years. Screws are permanent.
5. Plant a Foundation Bed with Evergreens
I see so many people plant annuals every spring. Petunias, marigolds, impatiens. They look great in May. By August they’re leggy and sad. By November they’re dead. You want curb appeal that works year-round.
Plant dwarf evergreen shrubs along your foundation. I used Emerald Green Arborvitae (Thuja occidentalis ‘Smaragd’) — they grow to about 8 feet tall, stay narrow (3 feet wide), and stay green all winter. They cost about $25 each at a local nursery.
How to Plant Them Right
- Dig a hole twice as wide as the pot. Same depth as the root ball. Don’t plant too deep — that kills more shrubs than anything.
- Mix the native soil with compost. 50/50 ratio. Don’t use potting mix.
- Water deeply once a week for the first year. After that, they’re drought-tolerant.
- Space them 3 feet apart for a continuous green wall.
Total cost: $25 per plant, plus $10 for a bag of compost. Total time: 2 hours for 5 plants.
One mistake I made the first time: planting too close to the house. The eaves block rainwater. Leave at least 3 feet of space between the shrub and the foundation wall.
The One Thing I’d Skip
Don’t power-wash your driveway. I know it’s satisfying. I know every YouTube video shows it. But power-washing strips the surface of concrete, making it more porous and prone to cracking. Use a stiff broom and a garden hose instead. It takes longer but it won’t damage the concrete.
If you have oil stains, use a degreaser like Simple Green Pro HD ($12) and scrub with a stiff brush. Then rinse. That’s all you need.
These five projects — door paint, lawn edges, path lights, house numbers, evergreen shrubs — will change how your house looks from the street. They cost under $200 combined and take one weekend. I’ve done them all. They work.