
Where do you put everything when one room has to be your bedroom, living room, office, and kitchen? After years of living with limited square footage, I have learned that the answer is not buying more boxes. The best tiny studio apartment storage hacks make daily items easy to reach, hide low-use items, and protect the small amount of open floor that makes the room feel calm.
1. Measure the Studio Before Buying Storage
The winning rule is simple: measure the space you want to protect before you measure the furniture you want to add. A storage unit that holds 20 percent more clothing can still make the entire room feel worse if it blocks a walkway or forces the bed against a door.
Map every useful zone
Draw a rough floor plan and mark the door swing, windows, heating vents, outlets, radiators, and the path between the bed, bathroom, and kitchen. Then record the width of every narrow gap. A space measuring 6 inches wide may hold cleaning supplies, while a 12-inch gap can often accept a rolling cart. Measure ceiling height too. High shelves are useful only when you can reach them safely with a stable step stool.
Use the 30-inch walkway test
Keep the main route through the studio close to 30 inches wide. That gives you room to carry laundry, open a drawer, or pass a guest without turning sideways. Tape proposed furniture footprints on the floor for one full day before buying anything. If the tape annoys you during breakfast or bedtime, the furniture will annoy you more. My verdict: protect circulation first, then add storage around it.
2. Nine Storage Hacks That Free Up the Floor
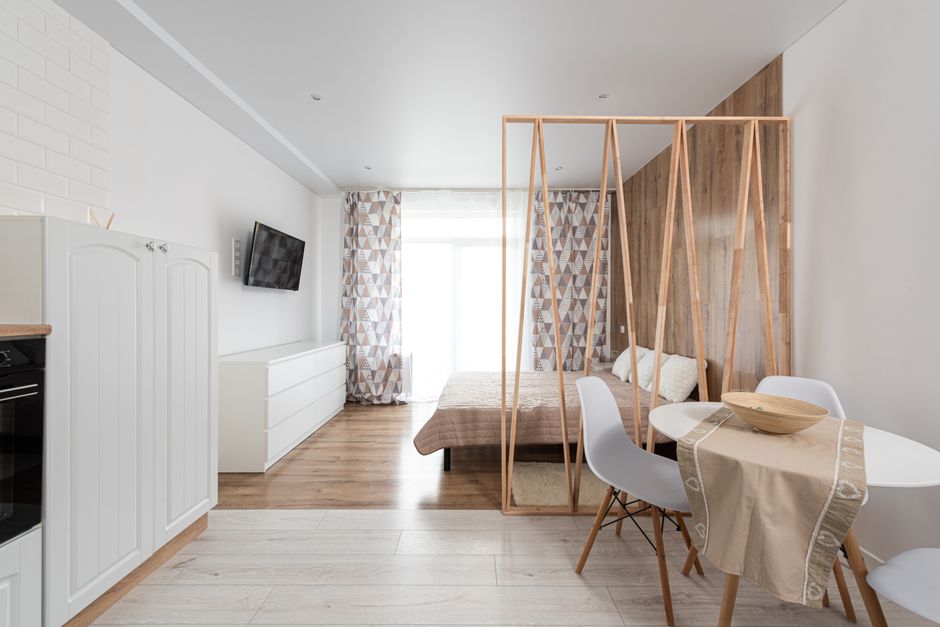
These nine ideas work because they use neglected surfaces, hidden volume, or furniture that performs two jobs. Start with the hacks that solve a daily irritation instead of trying to complete all nine in one weekend.
The nine-hack checklist
- Use the back of the entry door. Add slim hooks or a hanging organizer for coats, bags, hats, and reusable shopping totes.
- Turn a narrow gap into a drawer. A rolling cart can hold spices, toiletries, or cleaning products in a space too thin for a cabinet.
- Hang tools above the desk. A pegboard keeps scissors, chargers, headphones, and notebooks off the work surface.
- Store shoes vertically. A tall shoe rack uses less floor than several loose pairs spread beside the door.
- Lift the bed zone. Use low containers under the bed for spare bedding, winter clothes, and luggage.
- Give the sofa hidden storage. Choose a storage ottoman for blankets, cables, or items used during guests’ visits.
- Use a cube shelf as a divider. Open shelving separates sleeping and living areas while keeping light moving through the studio.
- Reserve high shelves for seasonal items. Put holiday decor and cold-weather accessories above eye level, not daily dishes.
- Make one landing tray. Keep keys, mail, and earbuds in one defined spot so small clutter does not spread across every surface.
Real products that fit the plan
The IKEA SKÅDIS pegboard measures 22 by 22 inches and costs about $20 before accessories, making it my best low-cost choice above a desk. For a gap beside a refrigerator or cabinet, the Yamazaki Home Tower Slim Rolling Storage Cart is roughly 5.1 inches wide and costs about $70. The IKEA KALLAX 2×2 shelving unit is about 30⅜ inches square and usually sits near $60, so it works well as a compact room divider.
| Storage problem | Useful target size | Best hack | Typical budget |
|---|---|---|---|
| Entry clutter | 4 to 8 inches deep | Door hooks or slim rail | $15 to $40 |
| Kitchen gap | 5 to 8 inches wide | Rolling cart | $35 to $80 |
| Desk supplies | 22-inch wall area | Pegboard | $20 to $50 |
| Seasonal clothing | Under-bed clearance | Flat zip bags or bins | $20 to $45 |
My clear pick for a first purchase is the door or wall solution, not a large cabinet. It removes visual clutter without stealing valuable floor space.
3. Build a Daily-Use Zone, Not a Bigger Closet
A studio feels crowded when every object is stored in the wrong place. The fix is to create a small daily-use zone around the activities you repeat most: getting dressed, making coffee, working, and going to bed. Store the things used together within one arm’s reach, even if that means spreading storage across several small locations instead of building one giant closet.
Group items by routine
Put the coffee scoop, filters, mugs, and tea beside the machine. Keep underwear, socks, and the clothes worn most often in the easiest drawer to reach. Put chargers near the bed and work cables near the desk. This sounds obvious, but many people organize by object type instead of by task. When a morning routine needs items from four corners of the room, those items will eventually land on the nearest chair.
Use open storage only for attractive or active items
Open shelves should display books, baskets, plants, or objects you use often. They should not become a holding pen for receipts, spare cords, half-used toiletries, and random packaging. The KALLAX 2×2 works best when each cube has one job and a closed basket hides the messy category. Leave at least one cube partly empty. That space gives new items somewhere to go without triggering a full reorganization.
Set a reset limit
Choose a five-minute evening reset. Return dishes to the kitchen, place clothing in the laundry zone, empty the landing tray, and put work items back near the desk. If the reset takes longer, the storage system has too many steps. Reduce the number of containers or move the problem items closer to where you use them. My verdict: a smaller system that resets in five minutes beats a beautiful closet that requires a full Saturday to maintain.
4. Stop Clutter at the Door and Kitchen Edge
The strongest small-space system is the one that intercepts clutter before it reaches the center of the room: give every incoming category a landing point within a few steps of the door, keep only one week of frequently used supplies in the kitchen, and move unopened duplicates into a single high or hidden reserve so the counter never becomes the backup pantry.
Do not create a catch-all basket and call the problem solved, because a basket without rules turns into a second junk drawer; instead, label the category by action, such as return, recycle, wash, or put away, and empty it on a fixed day.
My verdict is to use a one-in, one-out rule for bulky items: when a new coat, pan, blanket, or pair of shoes enters the studio, one similar item leaves, because storage cannot repair a volume problem that keeps growing.
5. Choose Storage by Access Frequency
Storage height and container style should follow how often you use the item. The things needed every day deserve the easiest access, while objects used a few times each year can take the highest shelf or the deepest space. That principle prevents a common studio mistake: using premium, easy-to-reach space for items that barely leave their boxes.
What belongs at eye level?
Keep daily clothing, dishes, work tools, toiletries, and cleaning products between waist and shoulder height. Clear bins help only when you can see the contents without opening several lids. For small loose items, the MUJI Polypropylene Storage Case is a useful drawer-style option; the common compact sizes cost about $15 and measure roughly 14.6 by 10.2 by 5.9 inches. My pick for daily categories is a shallow drawer, because it prevents a pile from forming behind the item you need.
What can go under the bed?
Use under-bed storage for soft, low-use items that tolerate compression: spare sheets, guest towels, coats, and luggage accessories. The SONGMICS under-bed storage bags measure about 39.4 by 19.7 by 5.9 inches and often cost around $25 for a two-pack. Choose bags with handles and a clear panel. Avoid storing damp shoes, food, or anything that needs ventilation in a sealed low container.
When should you skip a storage product?
Skip any unit that requires moving two other objects before you can reach the item inside. Also skip deep bins for small accessories; they hide the exact things they were meant to organize. Renters should avoid heavy wall systems if the lease restricts drilling. In that case, a freestanding shelf or over-door solution is the better buy, even if it holds slightly less.
6. My 2026 Setup for a 250-Square-Foot Studio
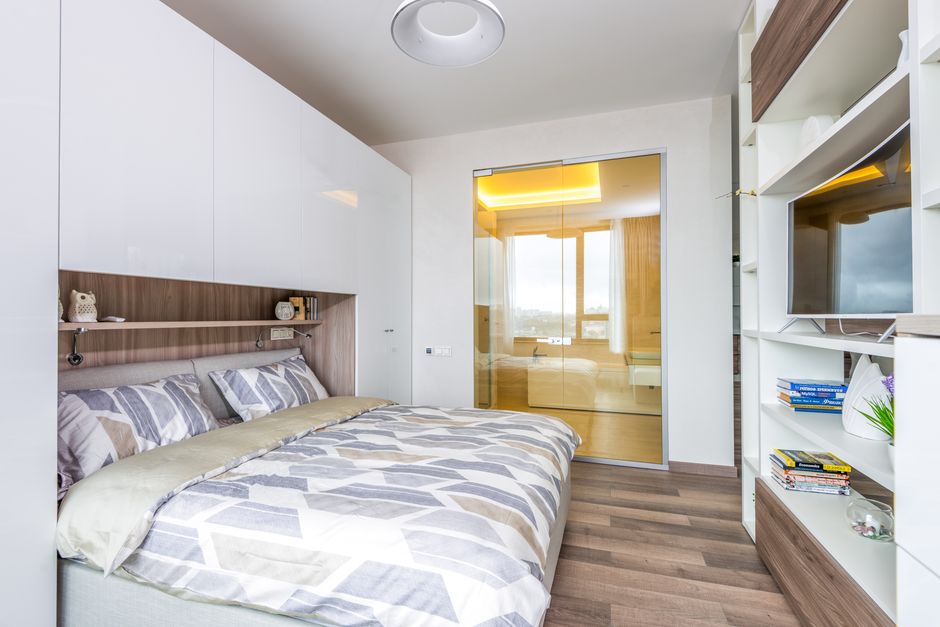
My strongest recommendation is to build the studio in layers: daily items at hand, weekly items in drawers, and seasonal items above or below the main living zone. That order keeps the room usable while you improve it gradually. Do not buy a matching set of containers first. Measure, sort, and assign each category a home before spending money.
The setup I would install first
I would start with a slim shoe solution and a small entry tray, then add an IKEA SKÅDIS above the desk for cables and stationery. Next comes a narrow rolling cart beside the kitchen, followed by flat under-bed bags for bedding and seasonal clothes. If the studio still needs a visual boundary, I would add the IKEA KALLAX 2×2 and keep the cubes partly open so the room does not feel boxed in.
The mistakes I would avoid
Do not use a tall shelf where it blocks daylight, and do not place a storage ottoman in the only clear path around the bed. Do not fill every cube, hook, and drawer on day one; empty capacity is what keeps the system flexible. Recheck the studio after two weeks and move anything that creates friction. Small apartments will keep demanding smarter storage in 2026, but the best solutions will remain the quiet ones: less floor lost, fewer objects in sight, and a room that resets without a struggle.