
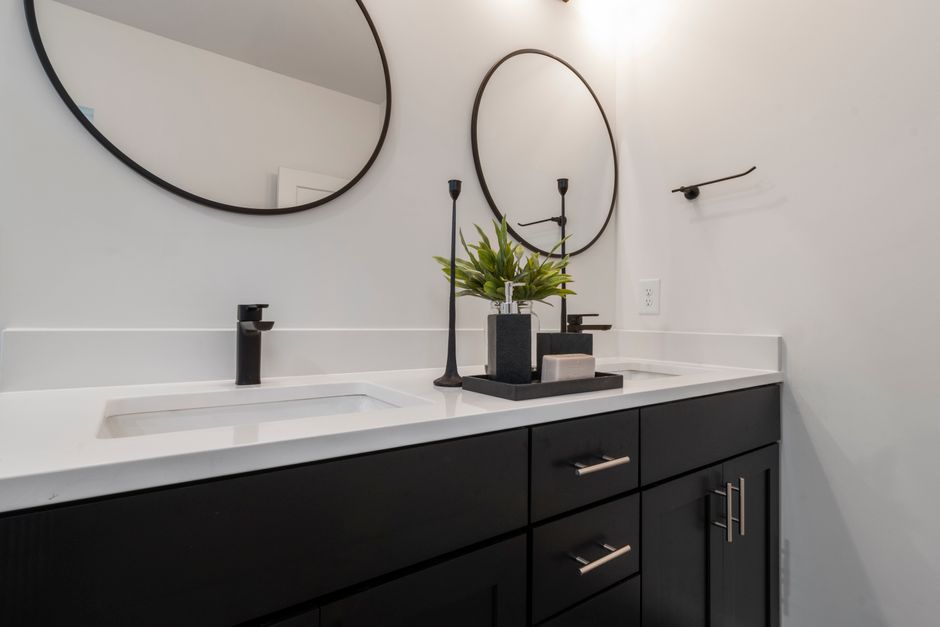
The old cabinet is swollen, the faucet wobbles, and the bathroom has become the one room you keep putting off. A new vanity with a vessel sink can change it in one weekend, but only if the measurements and drain layout work before you start cutting.
Will a Vessel-Sink Vanity Fit Your Bathroom?
Yes, if the existing water and drain lines stay close to their current positions. The project becomes much larger when the drain must move inside the wall, the floor is badly out of level, or the new bowl makes the counter too high for comfortable use.
Weekend reality check
| Task | Typical time | Weekend verdict |
|---|---|---|
| Remove old vanity | 1 to 2 hours | Usually manageable |
| Repair wall or floor | 1 to 4 hours | Allow extra time |
| Assemble and anchor cabinet | 2 to 3 hours | DIY-friendly |
| Install top, vessel, faucet, and drain | 3 to 5 hours | Needs careful fitting |
| Leak test and clean-up | 1 hour | Never skip it |
Height math
A standard vanity is often 30 to 32 inches high. A vessel bowl can add 5 to 6 inches, putting the rim around 35 to 38 inches from the floor. That is comfortable for many adults, but it may feel too tall for children or shorter users. The 36-inch finished height is a useful target. Measure from the floor to the top edge of the bowl, not just to the cabinet or countertop.
For a first-time installer, the best weekend project is a same-footprint replacement with no major pipe relocation.
Measure the Wall, Drain, and Finished Sink Height
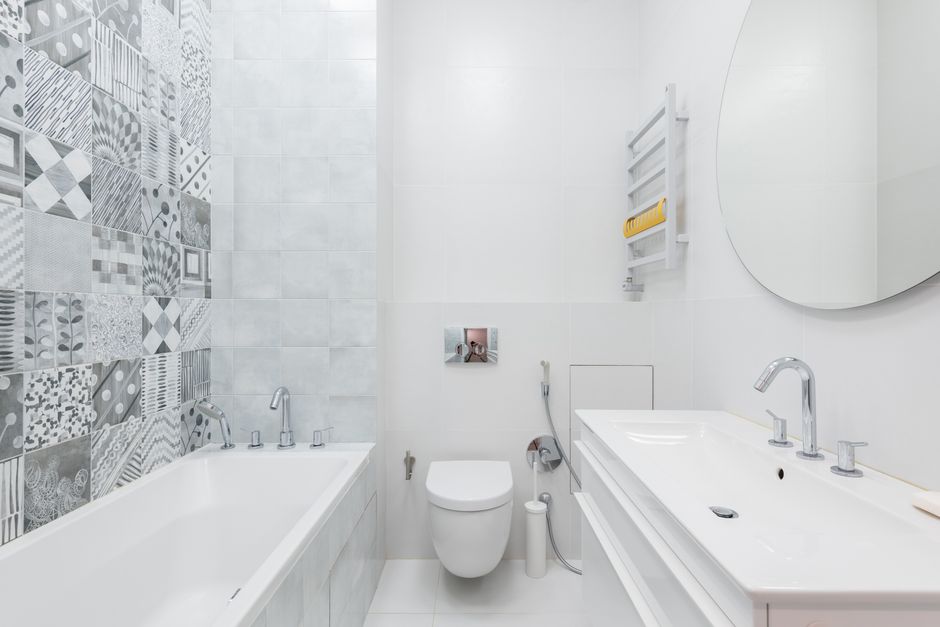
Measure the room before buying the cabinet. Start with the available wall width, then check the distance from each side wall, the toilet, the tub, and the door swing. Leave enough clearance for cabinet doors and for your shoulders when standing at the sink. A beautiful 36-inch vanity is a poor choice if the toilet is only 12 inches away and the door hits its corner.
Take six measurements
Record the wall width, available depth, current vanity height, drain centerline from the finished floor, hot and cold valve locations, and the distance from the back wall to the front of the drain. Also measure the baseboard height. A baseboard can keep a cabinet from sitting flat against the wall, forcing you to notch the cabinet or remove a short section of trim.
Check the floor with a 24-inch level. Measure at the front and back of the installation area. Floors often slope toward a floor drain, and a small slope becomes obvious when water sits in a vessel bowl.
Check faucet and drain geometry
Vessel sinks need a faucet tall enough to clear the rim and deep enough to send water toward the basin center. The Kohler Vox vessel sink, for example, is about 16.5 inches in diameter and 5.3125 inches high. Its technical sheet lists a 1.75-inch drain hole and requires the faucet spout to clear the bowl with an air gap. Use the cutout template supplied with your sink because drain dimensions vary.
The difference matters. The Sinkology Adams 17-inch copper vessel sink installation guide calls for a 2.75-inch countertop opening. That is the counter cutout for that model, not a universal size for every vessel sink.
Check the wall and floor reality
Find the wall studs before choosing screw locations. A wall-mounted cabinet must transfer its load into framing or correctly sized anchors. The IKEA ENHET 24-inch vanity, which measures 24 inches wide, 12.625 inches deep, and 24 inches high, includes a wall-anchoring requirement. A similar cabinet may look stable while empty and pull away from the wall once the stone top and bowl are installed.
Buy the Right Parts Before Friday Night
Most weekend delays come from one missing drain part, one wrong faucet, or a countertop hole drilled for a different sink. Buy the complete plumbing set before removing the old vanity.
Core kit
- Vanity cabinet, countertop, vessel sink, and compatible mounting ring if the bowl has a curved or uneven base.
- Vessel-sink drain assembly, usually without an overflow unless the sink model specifically includes one.
- Adjustable P-trap, two flexible supply lines, shutoff valves if the old ones leak, and a basin wrench.
- Level, tape measure, stud finder, drill, driver bits, hole saw, shims, utility knife, bucket, safety glasses, and a hacksaw.
- Neutral-cure silicone approved for the sink material. Do not assume ordinary bathroom caulk is suitable for every stone, glass, or copper bowl.
Three useful product references
The IKEA ENHET 24-inch vanity is a compact cabinet example, priced at $149.99 on the manufacturer page checked for this guide. The Kohler Vox vessel sink shows why bowl height and faucet clearance must be calculated together. The Sinkology Adams 17-inch copper vessel sink is another clear example of a model that uses a specified 2.75-inch counter opening. These are reference points, not mandatory purchases.
Buy the drain from the sink manufacturer when possible. A decorative drain that looks right may have the wrong shank length or washer arrangement.
What Should You Remove Before Installing the New Cabinet?
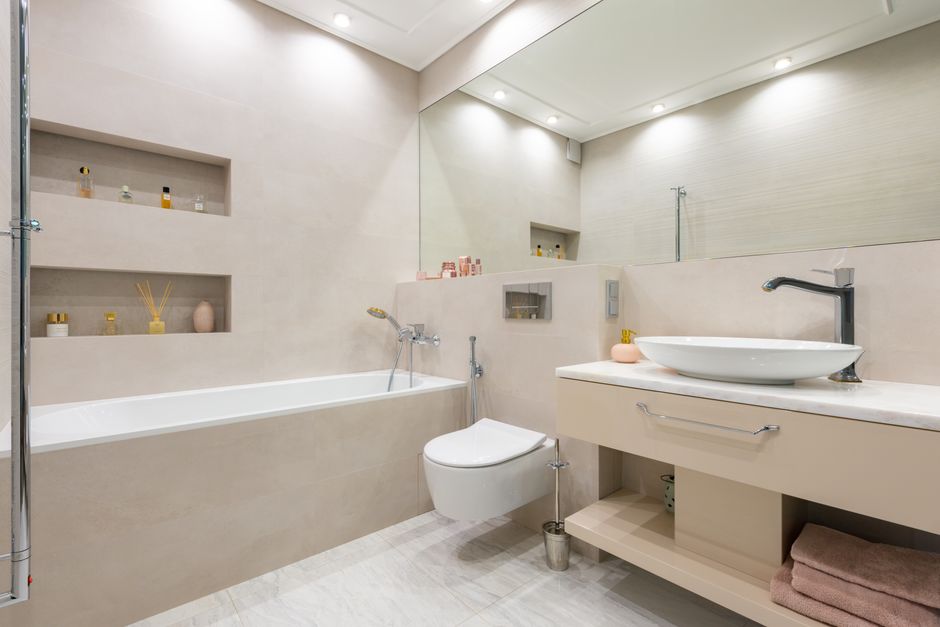
Should you shut off the main water?
Start by closing the hot and cold shutoff valves under the sink. Open the faucet to release pressure, then place a bucket below the trap. If a valve does not close fully, shut off the bathroom branch or main supply before disconnecting anything. A slow trickle can turn a simple cabinet swap into wet drywall and a damaged floor.
How do you remove the old vanity?
Cut the caulk along the backsplash and wall with a utility knife. Disconnect the supply lines and trap. Remove drawers and doors so you can reach the screws holding the cabinet to the wall. Lift the top away with help; stone and thick quartz tops are awkward and can crack when twisted.
What must be repaired first?
Repair soft flooring, moldy drywall, loose shutoff valves, and corroded drain parts before setting the new cabinet. If the old vanity hid an unfinished wall, finish that surface now. The cabinet will make access difficult later.
Do not remove the old unit until the replacement is on site and inspected for cracks, missing hardware, and the correct sink cutout.
How Do You Install the Cabinet, Top, Vessel, and Faucet?
Work from the wall outward. Dry-fit every part before applying silicone or tightening plumbing.
Anchor the cabinet first
- Mark the cabinet width and top height on the wall. Transfer the drain and supply locations to the cabinet back.
- Drill plumbing openings slightly larger than the pipes. Drill from the finished side with a pilot hole to reduce splintering.
- Set the cabinet in place and check level from side to side and front to back. Use composite shims, then trim the exposed edges.
- Drive cabinet screws into studs or approved anchors. Anchor the vanity to studs whenever the layout allows it. Do not rely on silicone or the countertop to hold the cabinet against the wall.
Set the top and sink
Apply a thin bead of adhesive or silicone where the countertop manufacturer permits it. Set the top down without sliding it across the cabinet. Install the faucet through the counter before the top becomes difficult to reach. Place the vessel over the drain opening, confirm that the bowl is centered, and check that the faucet stream lands inside the basin.
Connect the plumbing
Install the sink drain with the supplied gasket and washer. Follow the sink instructions on silicone versus plumber’s putty. Connect the tailpiece to the P-trap and trim the tailpiece only as much as needed. Attach hot and cold supply lines by hand first, then tighten with a wrench. Do not overtighten; compression fittings seal through the washer, not brute force.
How Do You Test the Installation and Avoid the Usual Failures?
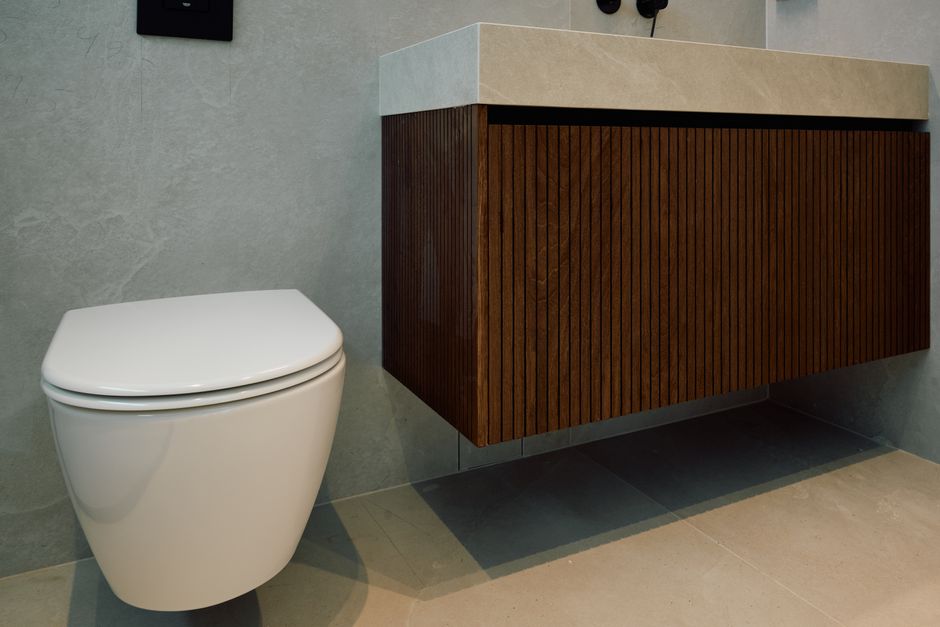
My firm recommendation: spend the final hour testing, not decorating. Most vanity leaks start as tiny drips hidden behind a drawer or inside the cabinet. They are easier to fix before the silicone cures and before towels, toiletries, and storage bins cover the plumbing.
Leak-test in three passes
- Turn on the shutoff valves slowly while watching every connection. Dry the joints with a paper towel.
- Run cold water for two minutes, then hot water for two minutes. Check the faucet base, drain flange, tailpiece, and P-trap.
- Fill the bowl halfway and release it. A full drain test reveals leaks that do not appear during a slow faucet stream.
Mistakes worth rejecting
- Do not set the bowl before confirming the faucet reach and drain alignment.
- Do not seal around a sink that rocks. Fix the mounting ring or countertop first.
- Do not force a P-trap into an incorrect position. A trap under stress can leak or pull the wall drain loose.
- Do not skip cabinet anchoring because the unit feels heavy.
When another plan wins
Choose a drop-in or integrated sink instead of a vessel sink if easy cleaning and a lower rim matter more than the raised-bowl look. Choose a freestanding vanity if the wall has no usable framing and you cannot open it safely. Stop and call a plumber if the drain must move inside the wall, the shutoff valves will not close, the wall is damaged, or local code requires a licensed connection. A true weekend project ends with a dry cabinet, a level bowl, and plumbing that can be inspected without guesswork.