Firstly, let’s start this post with a huge congratulations to you and your partner! If you have found yourself researching the perfect engagement ring selfie, then you may have answered that all-important question, or you expect to be doing so soon. So, it makes perfect sense that you want to be prepared with all the hints and tips on how to take the perfect engagement ring photo to announce to the world the start of your new chapter.
When it comes to gym selfies, duck-face pouts or mirror selfies you may shy away from getting involved, but the engagement ring selfie is a modern tradition, one which shouldn’t be put on hold because of lockdown or social distancing. No matter where you post your engagement photo, you are guaranteed an outpouring of support and admiration from your friends and family, especially now you can’t make the rounds to show off your ring in person. Now more than ever it’s important to get the right shot of your stunning ring.
To help you, we have put together the all you could need guide on taking the perfect engagement ring selfie during isolation! So, follow our tips below and capture this special memory in a photograph to cherish forever.
- A Perfect Pose for a Perfect Ring
The basics of any good engagement ring selfie starts with your hand, so before taking your photo, take a couple of moments to make sure it looks its best and practice your pose. Start by cleaning your hands for what is most likely the millionth time that day and then make sure to apply some lotion or moisturiser. Lockdown and excessive hand washing may have left your hands feeling dry and cracked, so a lot of lotion will ensure your hand looks soft and healthy in your photo.
You may be panicking about your lack of manicure, something which can’t be fixed by your nail tech in the current circumstances. But for the perfect engagement ring selfie, you should be hiding your nails for a flawless and natural look!
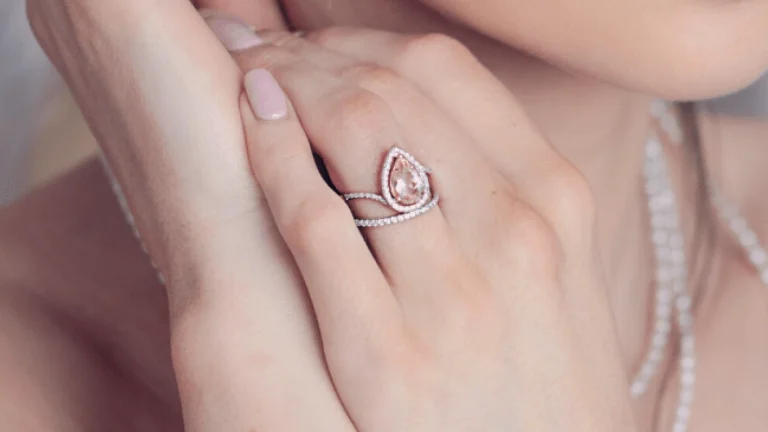
Curl your fingers lightly into your palms to hide your nails and ensure the engagement ring remains the centre of attention. Afterall, you don’t want to risk unkempt nails or over-the-top manicures to clash with your ring and steal the focus of the picture.
For a more intimate shot, get your partner involved and curl your hand round theirs, this highlights your engagement ring and crops your nails out of the photo.
- Polish that Sparkle
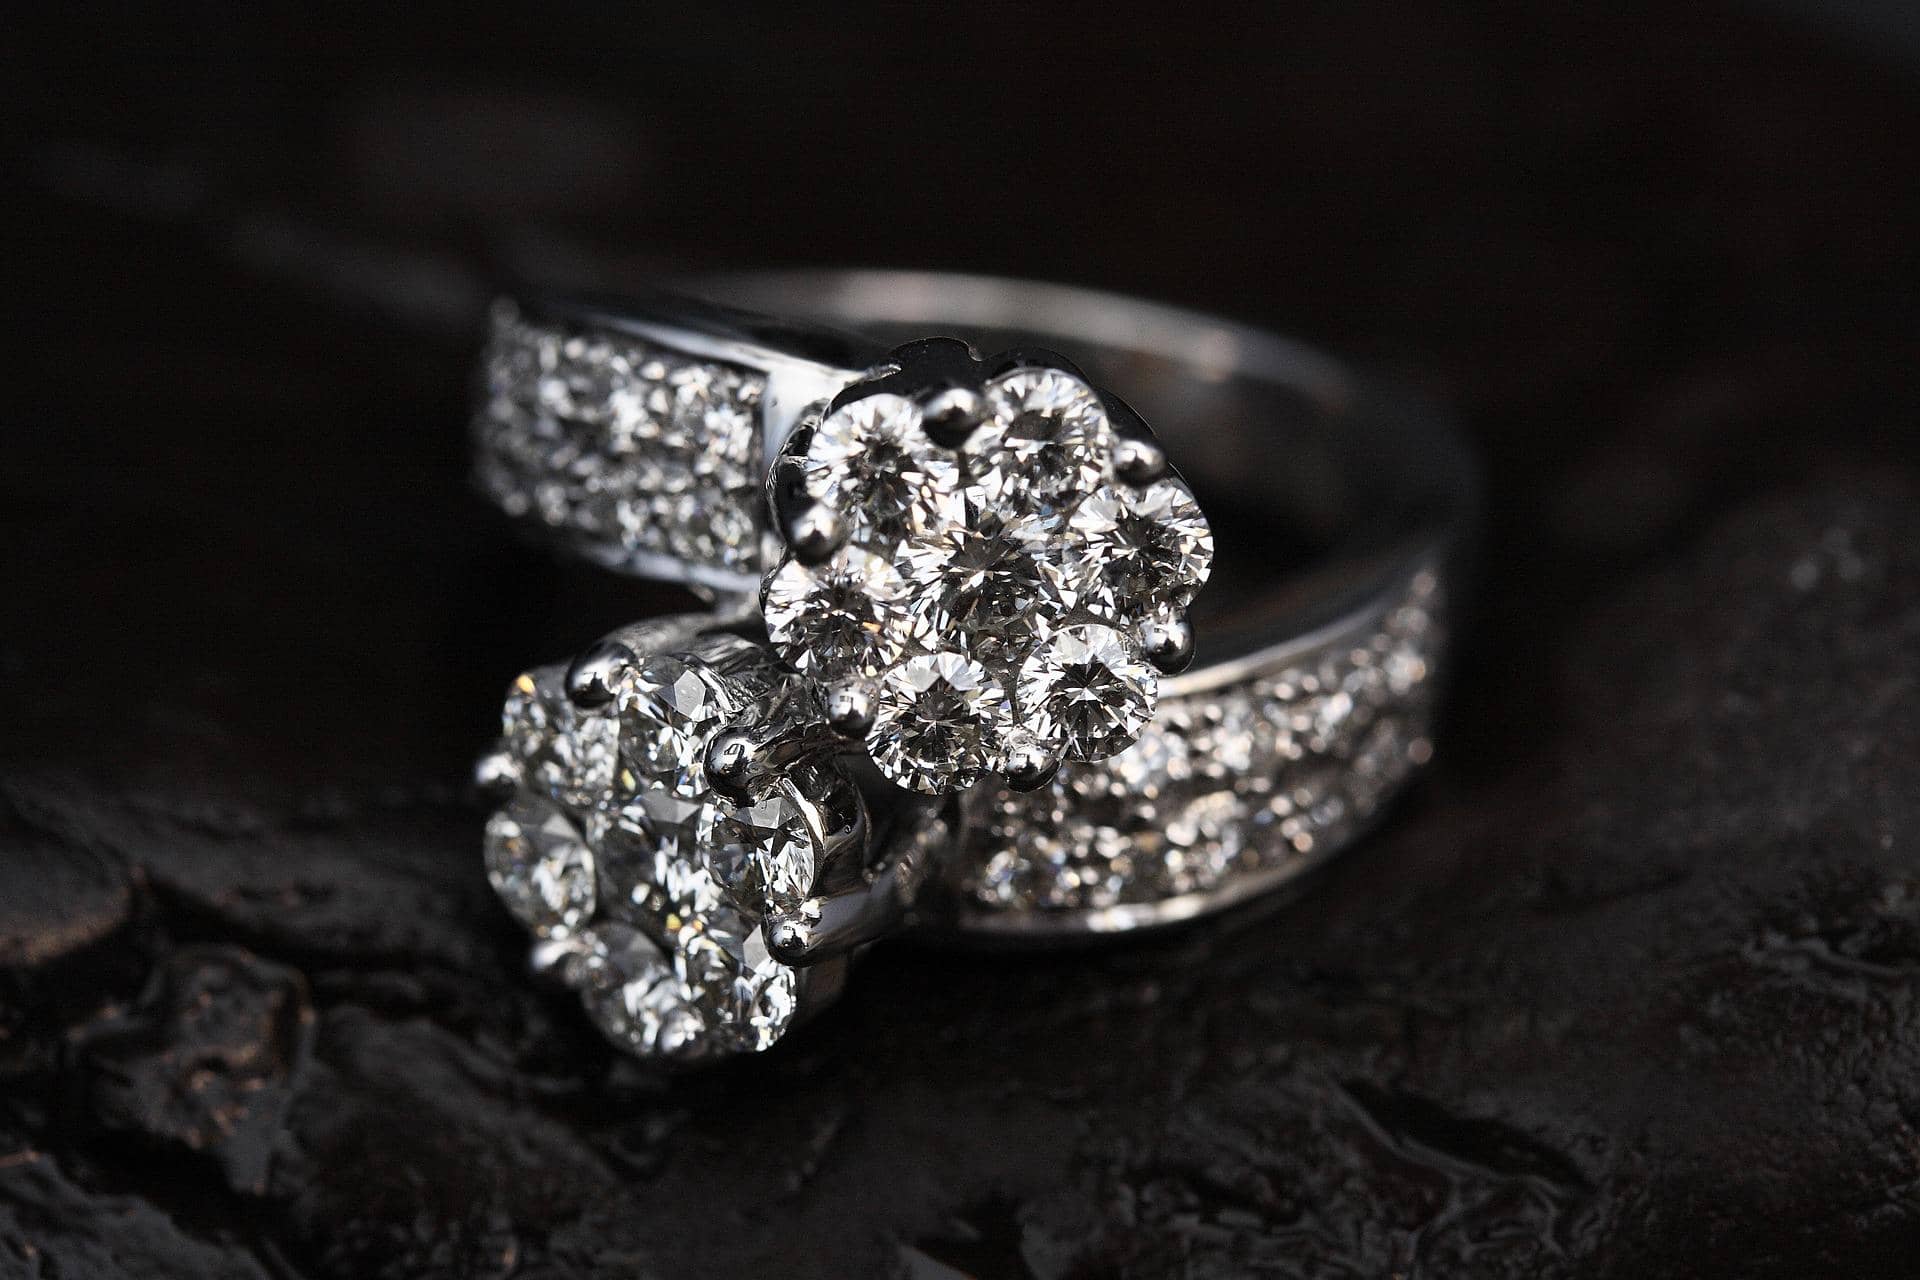
Now your hands are ready, it’s time to make sure your ring is polished too! Your partner may have been carrying this ring with them for months before they found the right moment to pop the question, but even if it was just bought yesterday, all rings can benefit from a good clean before you take a picture.
If you’re looking for something you can use longer-term, polish jewellery with a silver jewellery cloth or explore a high-quality range of jewellery cleaners available. By investing in a jewellery cleaner, you will always be prepared to maintain your precious jewellery for all occasions and moments.
- It’s All About the Lighting
One of the most crucial parts to getting the perfect engagement ring selfie is to find the right lighting! If your partner popped the question in the evening, you should do your best to save the photography session for the next day to ensure you can utilise natural light.
You may have been dreaming of your proposal on a sunny beach or in the middle of the city at a candlelit dinner, but lockdown shouldn’t mean your engagement ring selfie is any less beautiful. As long as you have the right lighting any location can be perfect, even if it is just in your own home! Go into the garden if you can to ensure you have natural sunlight on your side, but if this isn’t an option then take your picture near a window or door to have as much natural light as possible.
If it’s a gloomy day, then you may have to experiment with the lights in your home. Start by finding a light backdrop as anything dark will diminish the light in the photograph. You should also avoid the glow from yellow bulbs as this will create harsh lighting, always do your best to achieve natural lighting as this will create a soft glow which will reflect the beauty in your ring.
Jewellery photographer, Howlett, also shares his tips for taking photos on a bright day. “You can use anything white to reflect light back into jewellery to reduce the shadows – a piece of white card is ideal. You could even use a sheet of tin foil or a mirror to create extra sparkle! The closer the reflector is to the jewellery the greater its effect.”
- The Centre of Attention
When you’re taking your engagement ring photo, you always want to ensure that your ring is the centre of attention! Think about its shape. If it’s a uniquely cut ring, then you may want to experiment with angles in order to achieve the perfect shot, which reflects its shape and sparkle. If in doubt, choose an overhead shot, which will capture the full impact of your ring’s beauty.
You should also consider removing any other non-sentimental jewellery on your left hand before taking the picture. You don’t want a piece of fashion jewellery to overshadow your engagement ring or cheapen its appearance by blending the jewellery together.
- Find the Right Backdrop
The background can make or break a good photo, so before snapping your engagement ring selfie make sure that you have scouted the right backdrop. Many engagement photos usually utilise a beautiful location or landmark, but that doesn’t mean your at-home engagement shouldn’t be any less perfect.
When Howlett is taking his jewellery photos, he makes sure to think about the background carefully. He advises, “most jewellery is highly reflective so think about the background and what’s immediately surrounding the jewellery as it might have an effect on the shot.”
One of the best-known photography tricks is the rule of thirds, so apply this to your photo. When you’re looking at your photo through the camera, imagine dividing it into three equal thirds, both horizontally and vertically. Your ring should be centered on the intersection of the imaginary divided lines, in order to frame it correctly in the picture.
If you have a garden you can explore, then why not choose a subtle nature backdrop for your photo, which will ensure a brightly coloured background to frame your hand.
Or, if you’re stuck inside your home, then play around with props to highlight the moment. Add a soft romantic touch with a bouquet of flowers or why not add more sentiment with a framed photo of you and your partner? Whatever you choose to fill your background with, make sure it’s not the focus of the picture.
Keep your foreground clear and focused so that the backdrop doesn’t steal the limelight and instead complements your engagement ring.
- Keep it Natural
Your photo should reflect you and your partner, so if you don’t usually upload overly posed photos, don’t start now! If your engagement ring selfie looks insincere, your friends and family will pick up on this too. Dial it down, keep it natural and your photo is sure to be a winner.
Another tip you should remember is to relax your hands! If your fingers look like they’re straining to be as straight as possible, it will show and overall this will affect your photo. Soft lines and curves are the way to go to keep the focus on the ring.
- Slow and Steady Takes the Picture
Similarly, take your time to take the picture and keep it simple. You don’t want a blurry photo which looks like it was taken in a rush. To avoid blurry images, avoid using the zoom features on your camera! If you need to get closer, do it the old fashioned way by moving your phone closer into the shot.
You should also avoid touching any buttons on your phone as this will cause you to wobble and might mess up your photo. Instead, don’t be afraid to get help! Having someone else tap the capture button will ensure you don’t lose your stance and ruin your human tripod set-up!
- Don’t Be Afraid of Filters!
If all else fails, don’t be afraid to experiment with filters! Being trapped in our homes will most probably result in less than ideal circumstances to take the perfect engagement ring selfie, but you can still document this happy moment.
If you’re doing your part to protect those around you, the absolutely perfect shot shouldn’t matter so much. Do your best to get the best picture you can and if it doesn’t live up to your expectations, then choose a filter to overlay the image and clean it up.
Blur backgrounds that are stealing the focus or correct bad lighting with a filter, to cheat your way to a good photo in seconds! As long as it looks good and you’re happy with the result, that’s all that matters.
- Have Options
Finally, make sure you get snap happy! Don’t rely on setting up the one perfect shot and taking just one photo. Instead, have fun having a photoshoot and taking pictures in a plethora of different ways and angles. Afterall, this is a happy moment so make the most out of creating more memories with your significant other by taking the picture together.
Explore different background options around your home, take them inside and out and play around with lighting to capture the sparkle of your ring just right. There is no point spending a huge amount of time setting up your picture just to take one photo, as when it comes to posting it, you may notice something you don’t like.
It’s better to be safe rather than sorry, so make sure you have a whole image bank of engagement selfies to choose from!
However, as an extra tip, remember to only post one image, no matter how many you take! You don’t want to look as though you’re showing off too much and appear to be happier with the ring itself rather than you are the proposal.
Post a picture of your ring and then one of you and your partner together from the special moment in order to show your family just how excited the both of you are!
And, of course, just make sure to enjoy every moment of this special occasion! Savour the small moments, so that when you can be with your family and friends again, you can detail to them exactly how it happened and how happy you are.


