Home Workshop / Fiber Edition
Set Up a Fiber Bench the Whole House Can Use
A family craft area works when materials are visible, tools are limited and stopping is as easy as starting. Build a small station that welcomes ten-minute experiments without taking over the dining table.
Bench plan
Give the activity a defined footprint
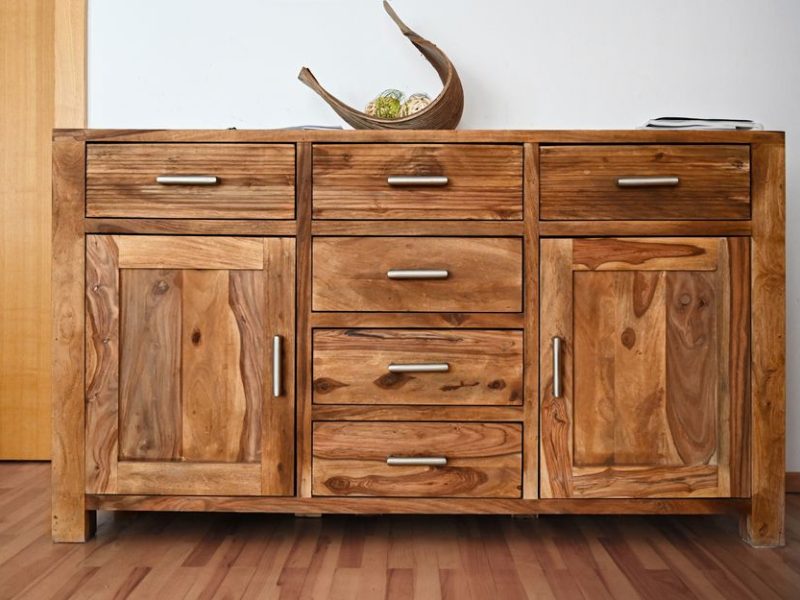
A useful fiber bench can fit on one shelf and the table space directly in front of it. The shelf holds three things: current material, basic tools and unfinished work. Everything else stays in reserve. This limit matters more than an elaborate storage system because it prevents every new colour from becoming a permanent surface resident.
Use an open tray for the active project so it can move when dinner begins. Add a small lidded container for sharp tools, stitch markers and needles. Children can see the soft materials while adults control the pieces that need supervision. A cloth bag or wide jar keeps loose yarn ends from migrating through the room.
The station should look ready, not pristine. One inviting ball of yarn and a partly completed sample communicate permission to continue. A tower of unopened supplies communicates obligation.
The 15-minute reset
Wind loose strands, return tools, place the work on top, sweep fibers and stop. Do not reorganize the entire collection after every session.
Material 01 / Recycled silk
Begin with texture you can see
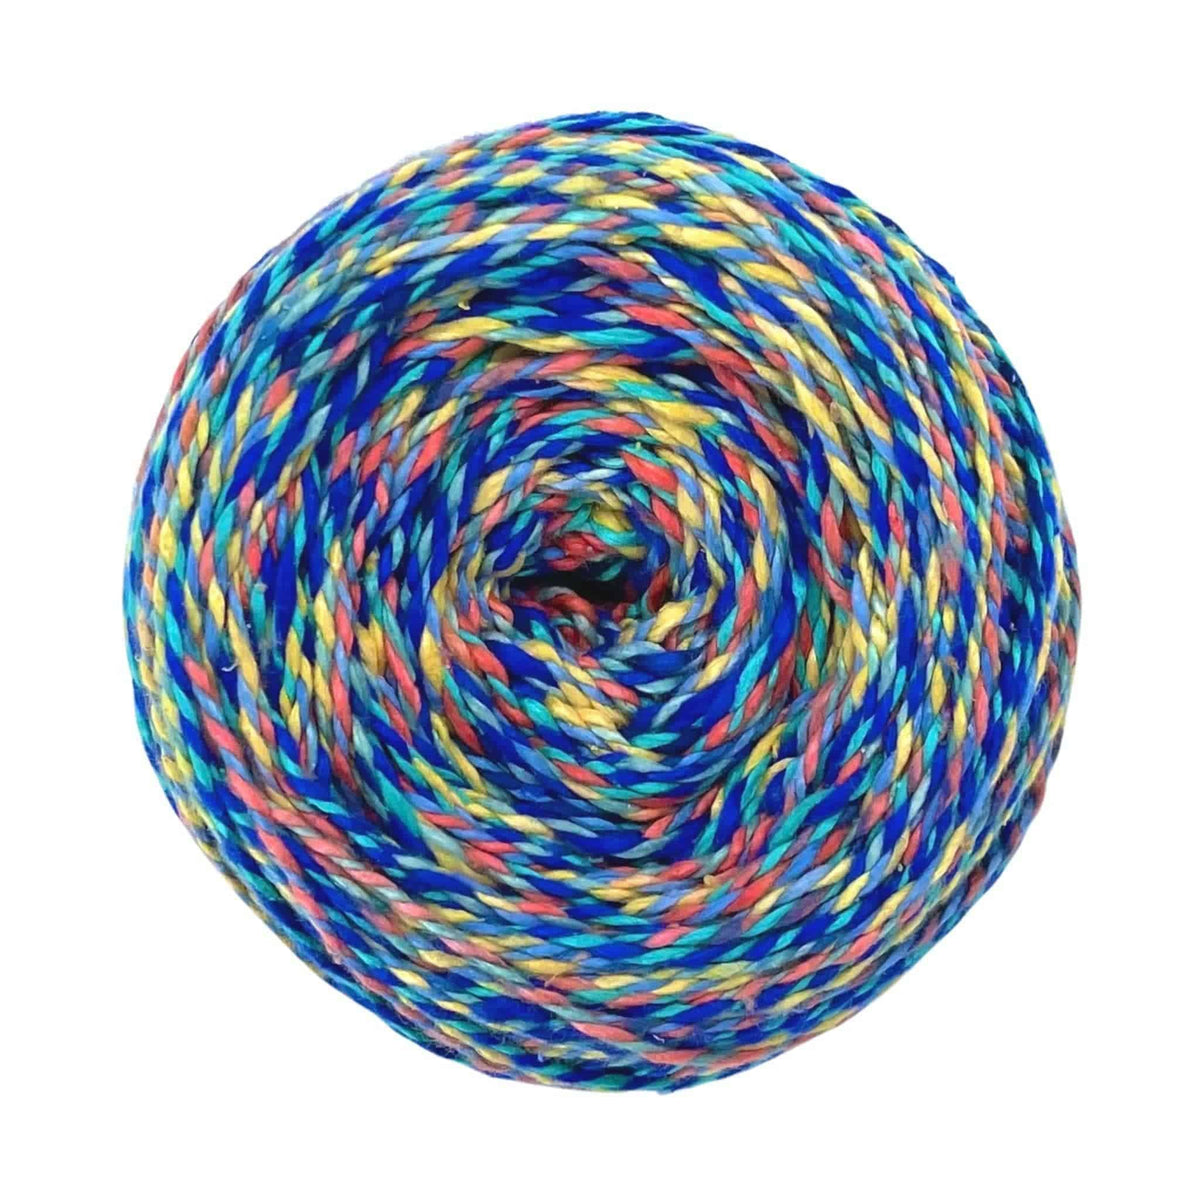
Recycled silk yarn often carries changes in colour and thickness that make simple work visually active. For a first family session, this is an advantage: a basic chain, wrap or woven strip can feel finished without an advanced pattern. The material does much of the visual work.
Those variations also ask for flexibility. Do not expect every length to behave like machine-spun cotton. Let irregular areas become part of the surface, and keep the first project small enough to complete before enthusiasm fades. A narrow wall hanging, wrapped jar or braided tie makes a better introduction than a full garment.
Before beginning, unwind a short length and let everyone feel how the strand changes. This turns material choice into observation rather than shopping. Ask what the texture suggests: a firm knot, loose weave, fringe or simple coil.
Material 02 / Compare colourways
Use two skeins as a design lesson
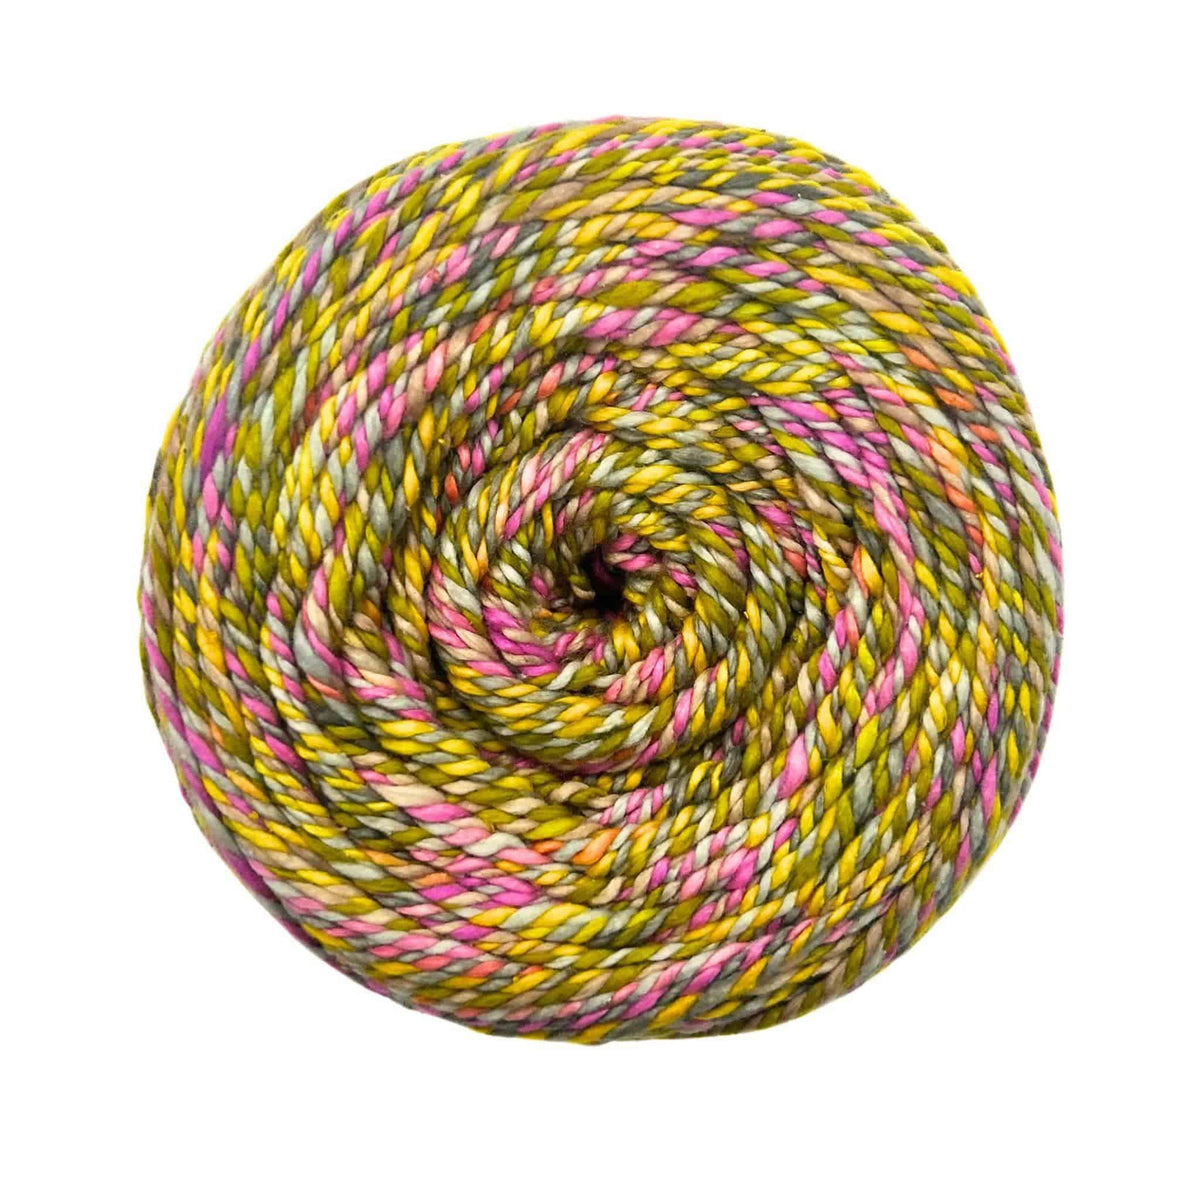
Place two colourways side by side and identify the dominant, supporting and surprise colours in each. The exercise helps children and adults see beyond “bright” or “purple.” One skein may be mostly cool with a small warm interruption; another may alternate strong contrasts. That difference changes the feeling of the same stitch.
For a shared project, assign roles by comfort. One person can measure lengths, another can wind, another can make the repeated stitch and a younger child can choose the sequence. The finished object then records participation without requiring everyone to have the same skill.
Keep offcuts longer than a hand in a transparent jar. They become useful for tassels, gift ties, visible mending or colour tests. Tiny pieces can go into a separate textile-recycling envelope rather than back into the working tray.
Material 03 / Smooth wool
Choose an easier strand for learning tension
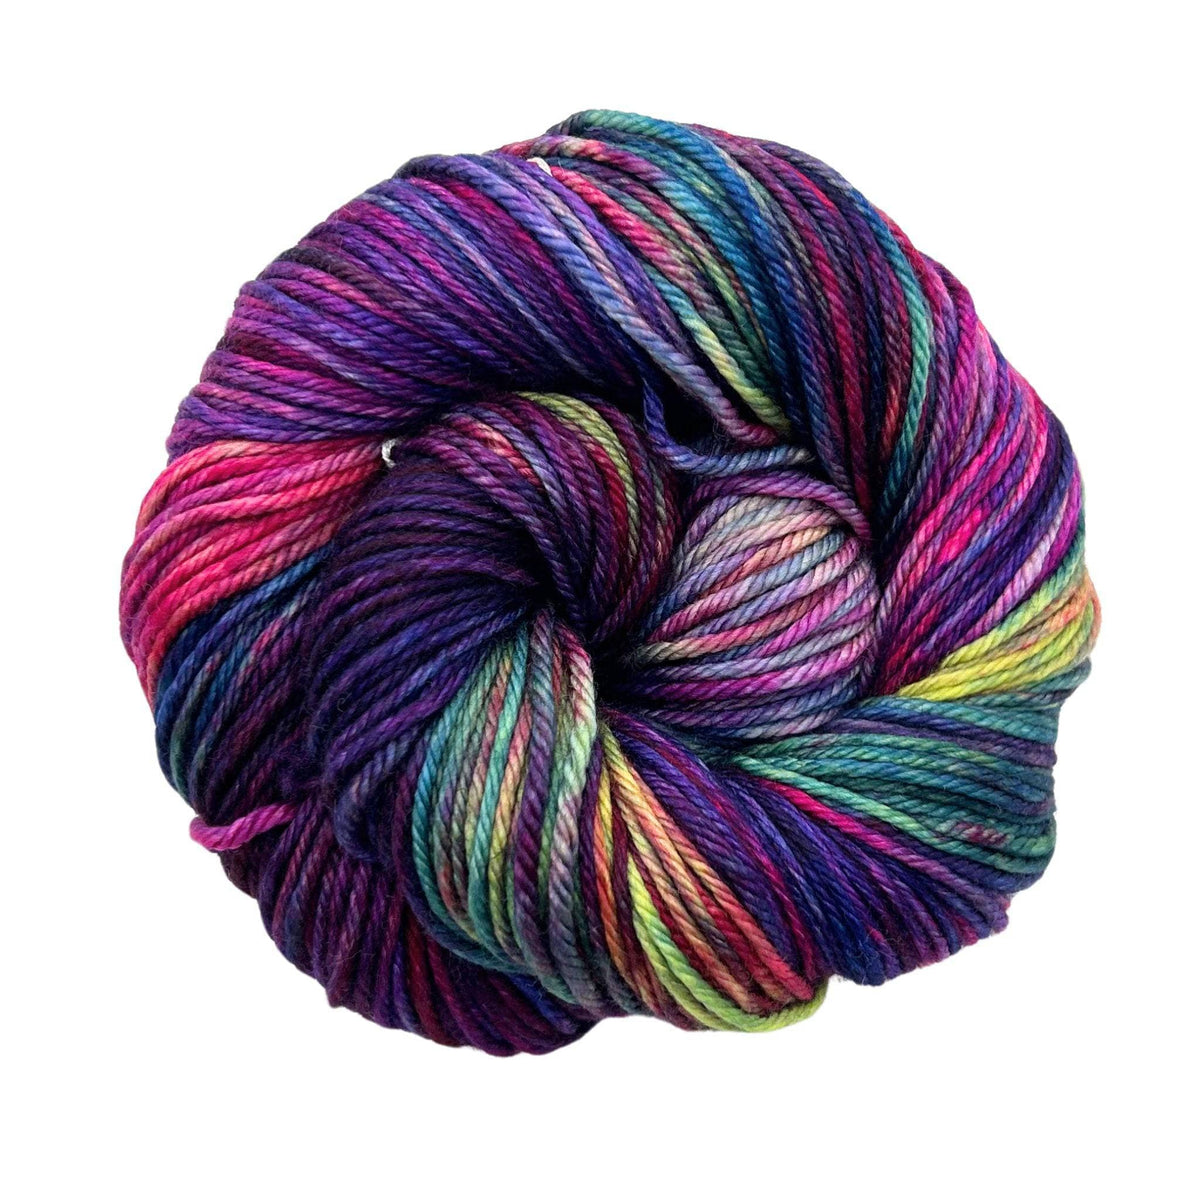
A smooth, rounded wool yarn makes individual loops easier to read. That clarity is valuable when someone is learning to knit or crochet because mistakes become visible before they travel across a whole row. A medium thickness is easier to hold than a very fine strand and produces progress quickly enough to stay encouraging.
Start with a square rather than a named object. Ten to fifteen stitches are enough to practise holding the yarn, turning the work and recovering a dropped loop. After several squares, decide whether they should become coasters, a patchwork pouch or part of a larger blanket. Function can follow competence.
Wool may not suit every household because of sensitivity or care requirements. Label the project tray with the fiber and washing instructions at the beginning. That small note prevents a finished piece from meeting the wrong laundry cycle later.
The calm palette
Let one tonal yarn slow the session
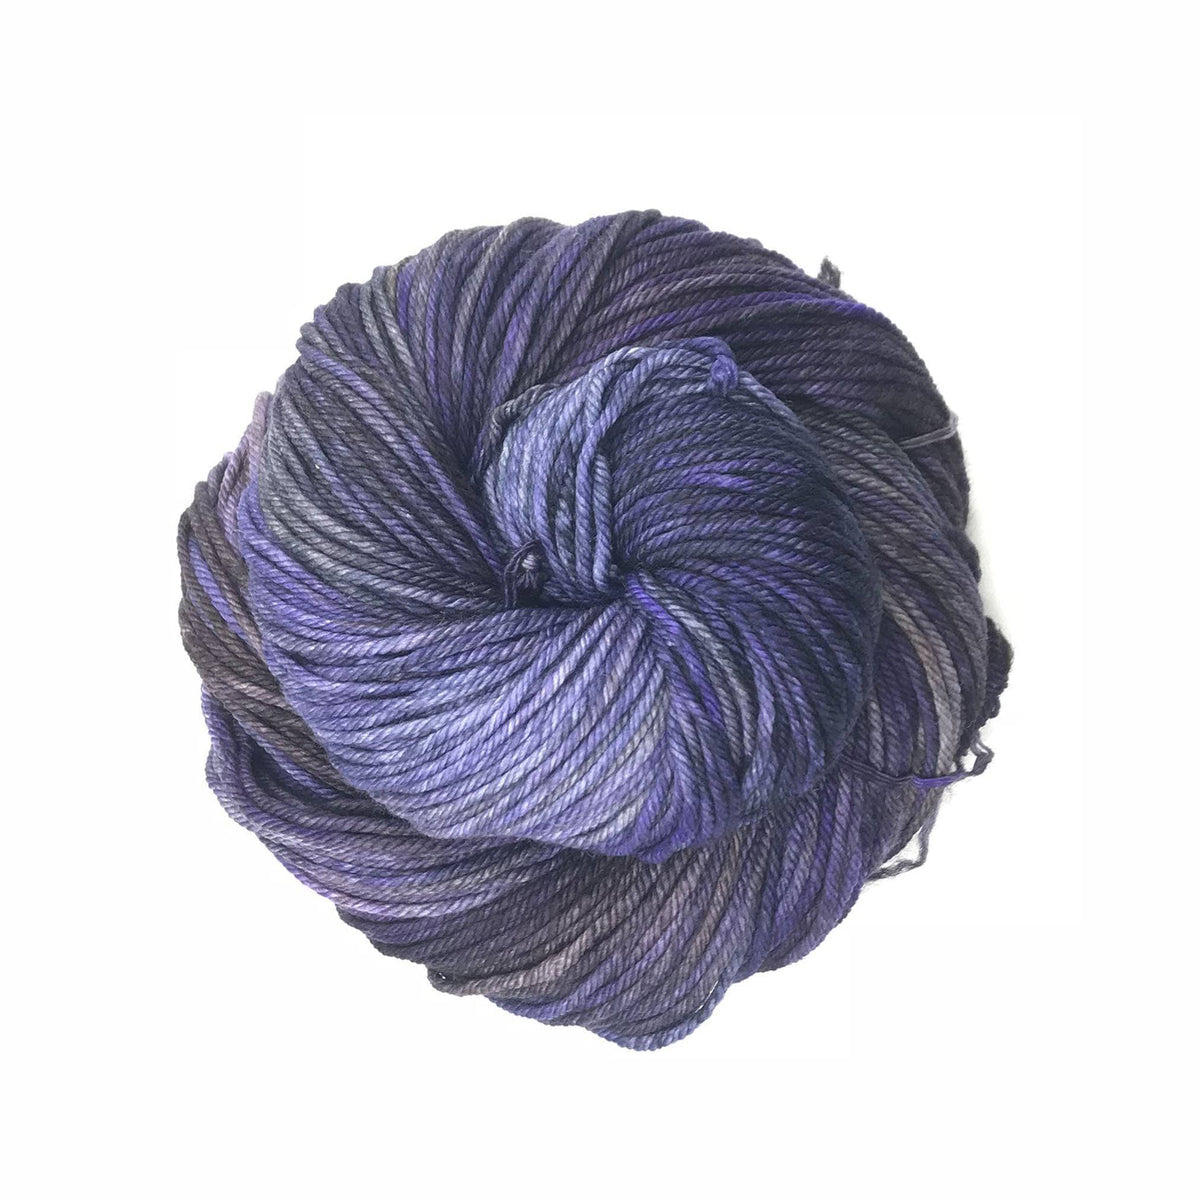
Not every project needs a riot of colour. A tonal skein gives enough variation to hold interest while keeping the overall surface calm. It is useful for repetitive evening work, when the process matters more than constant decisions.
Pair a tonal yarn with a single, repeatable rule: one stitch, one tool, one project bag. If the family station has become crowded with half-started ideas, this is the reset. Finish a small cloth, headband or set of squares before introducing another technique.
Photograph the swatch beside a ruler and note the needle or hook size. This creates a household reference for future projects and saves the familiar question of which tool produced the fabric everyone liked.
Tools and boundaries
A curated box is a prompt, not a backlog
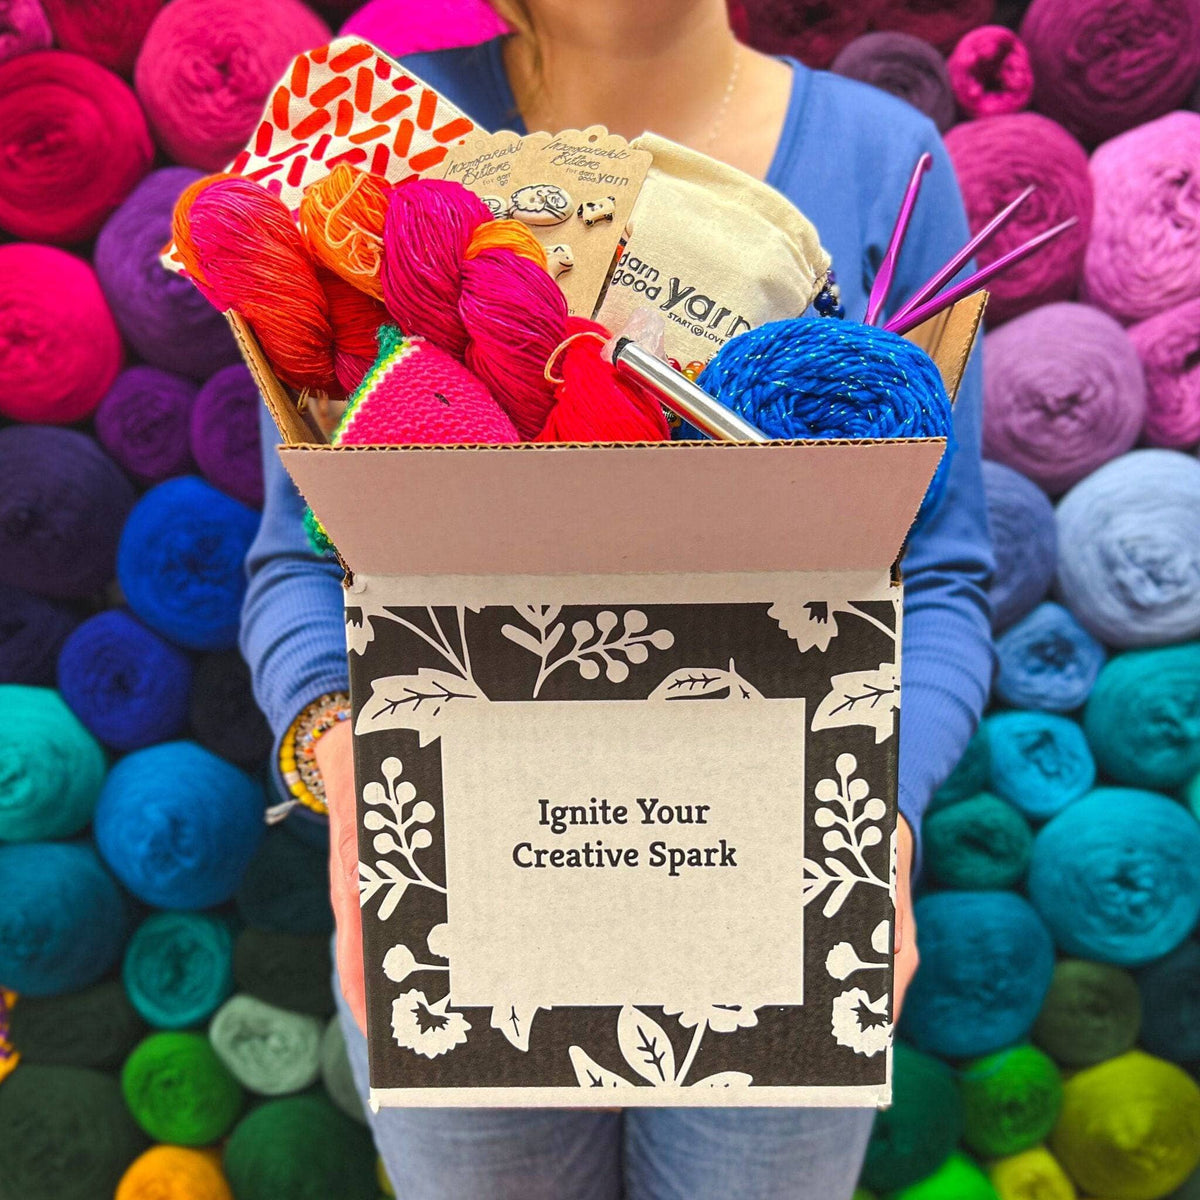
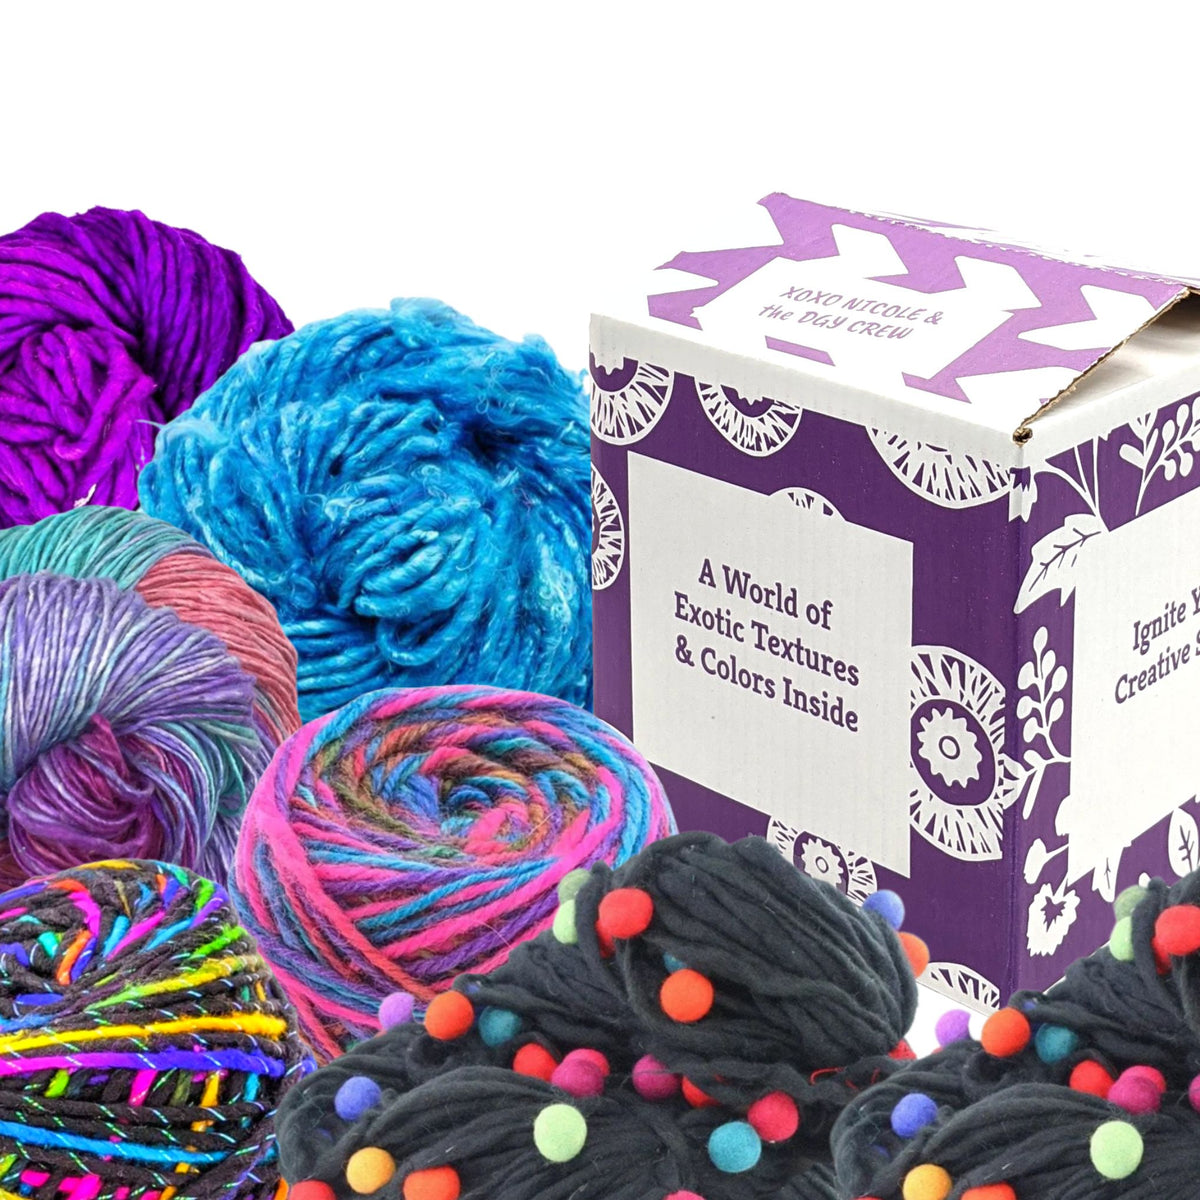
A mixed box can be exciting because it places yarn, tools and notions together. Open it with a sorting plan. Put materials in one group, tools in another and decorative extras in a third. Choose one combination for the current tray and return the rest to reserve storage.
Write a short project card before cutting anything: what is being made, who wants to help, the main material and the next physical step. “Make a scarf” is vague; “cast on twelve stitches with the purple wool” is an invitation. Leave the card on top when the session ends.
For children, separate ownership from access. They may choose colours and decide the object, while an adult stores sharp tools. Clear boundaries make the bench easier to leave available without turning it into a hazard.