Colour Notebook / Small Makes
Choose the Palette Before the Pattern
A short project is the best place to be deliberate with colour. Six useful questions can turn a beautiful bundle into a finished object instead of another hopeful addition to the craft cupboard.
Page one / The palette brief
Name the job of every colour
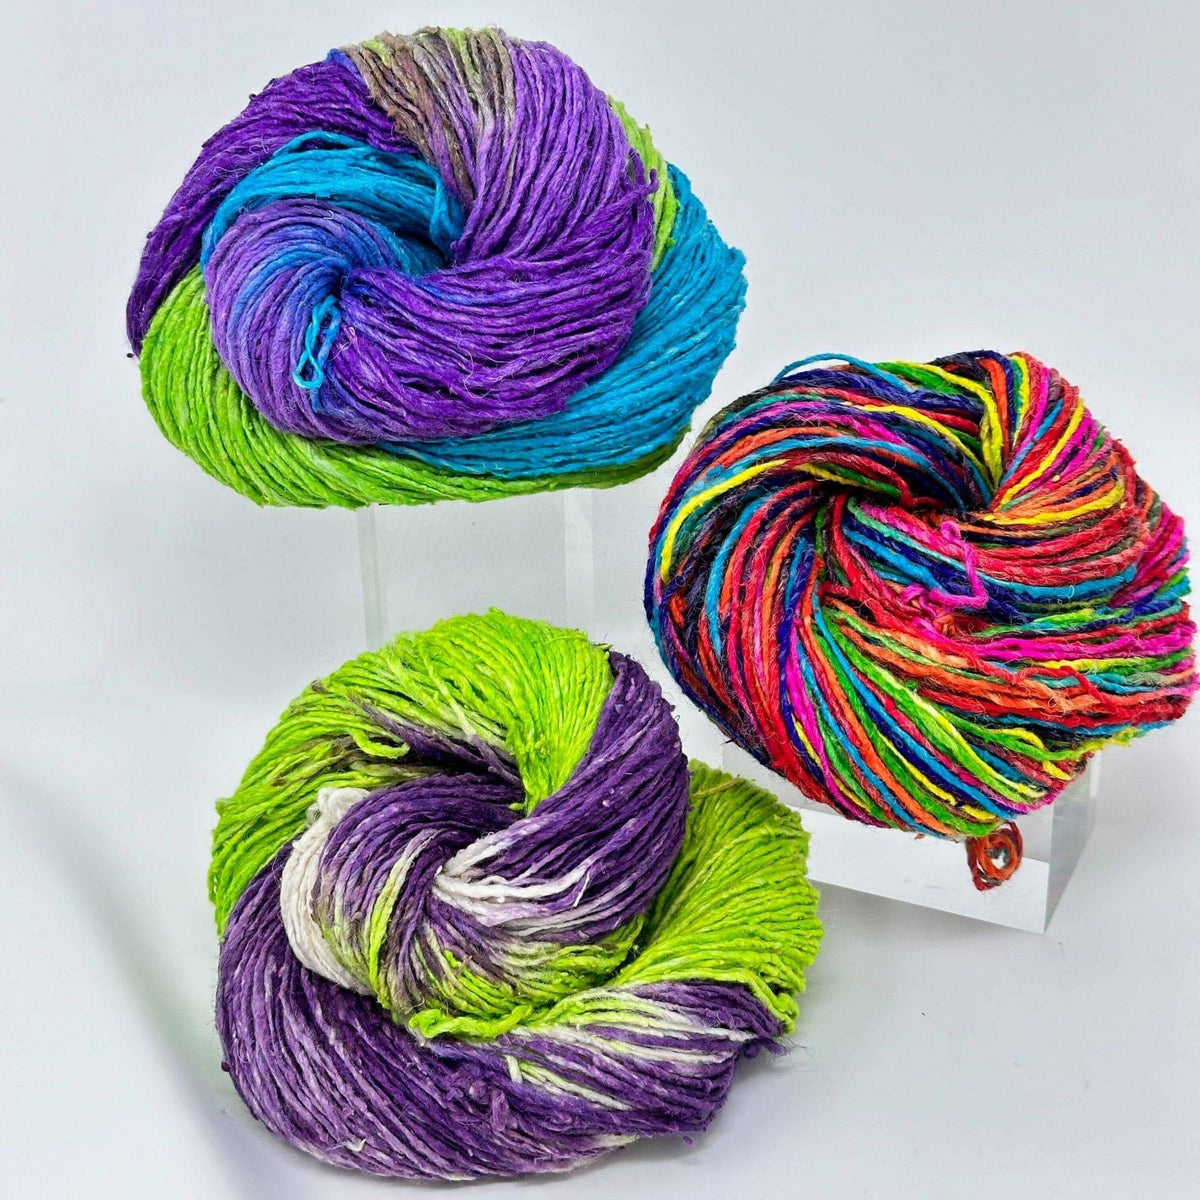
Before choosing a pattern, spread the materials in daylight and assign each colour a role. The anchor occupies the largest area. The companion supports it without competing. The spark appears in the smallest amount and changes the energy of the whole project. This simple hierarchy prevents every attractive skein from demanding equal space.
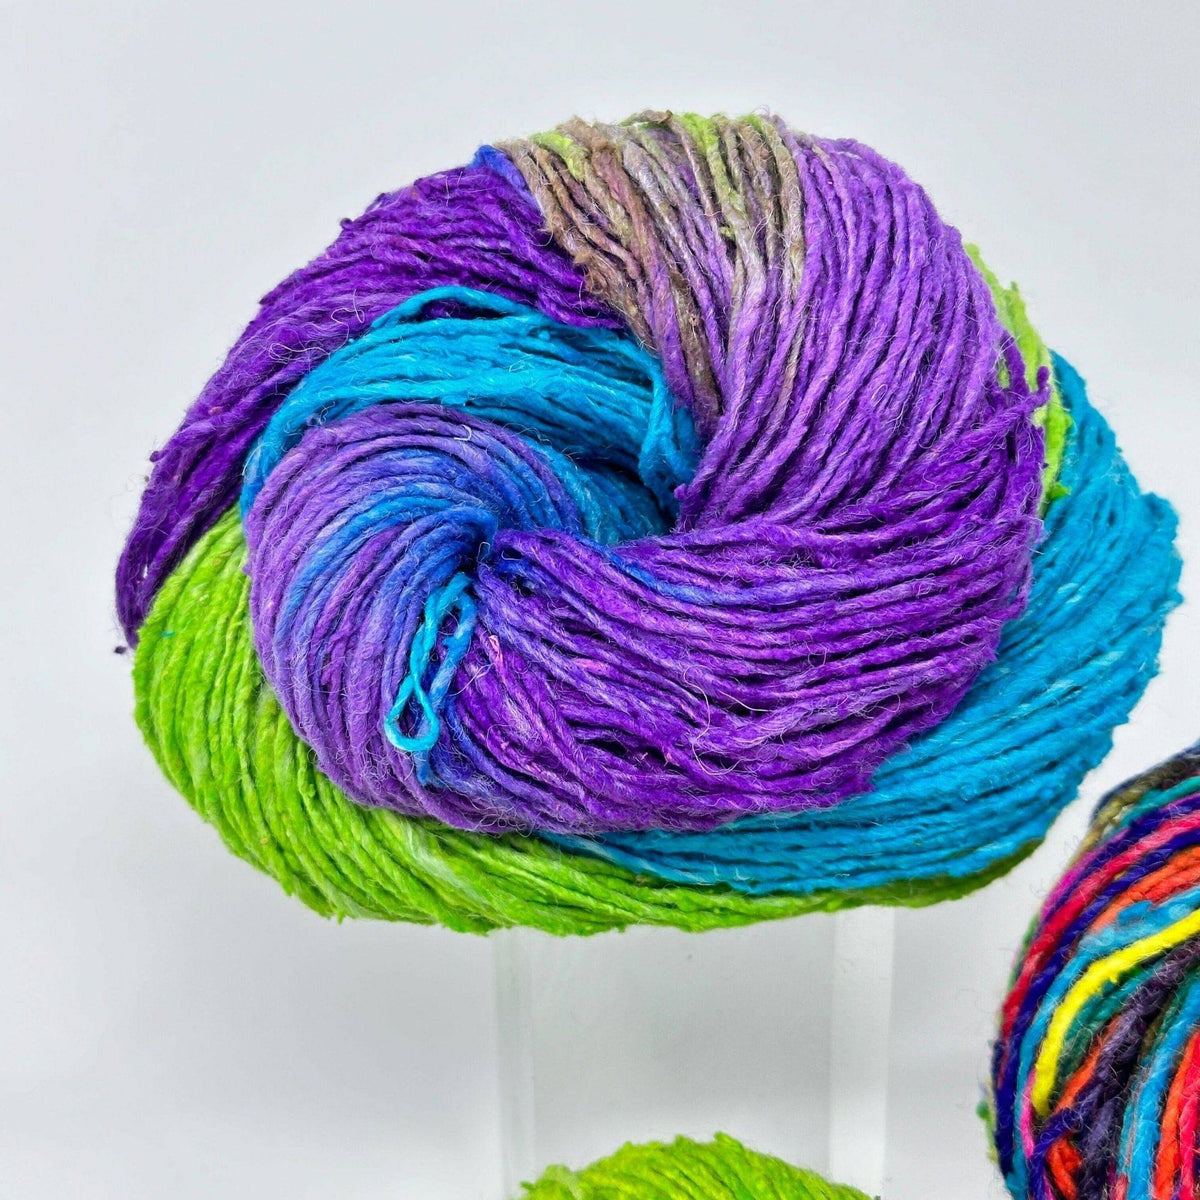
Take a black-and-white phone photograph. If all the colours collapse into the same grey, their values are similar and the finished pattern will read as blended. If one becomes much lighter or darker, it can define stripes, edges or motifs. Neither result is wrong; the photograph tells you what kind of design the palette wants to become.
Then remove one colour. Small projects often improve when the palette is edited before the first cut. The removed skein is not rejected. It becomes the beginning of the next notebook page.
Page two / Three-colour logic
Build a ratio, not a rainbow
Three colours are enough to create movement while remaining easy to track. Try a 60-30-10 ratio: sixty percent anchor, thirty percent companion and ten percent spark. The numbers do not need to be measured exactly. They are a reminder that visual balance comes from unequal amounts.
For a small woven panel, the anchor might form the ground, the companion every third row and the spark only at the border. For a set of tassels, reverse the logic: use the spark in one tassel, the companion in two and the anchor across the remaining pieces. Repetition makes the set coherent.
Wind a few feet of each colour around a card and write the intended ratio underneath. The card travels more easily than three skeins and keeps the original decision visible when the project returns after a week.
Page three / Four useful project equations
Match the material to a finishable scale
One skein + one vessel
Wrap a plain jar, tin or plant pot with a strong ribbon yarn. Keep the adhesive or knots on one side so the object still looks considered when turned.
Two colours + repeated fringe
Make a wall strip or shelf edge using one repeated knot. Alternate colour in blocks rather than randomly so the irregular fiber still has a clear rhythm.
Three colours + six squares
Knit, crochet or weave six samples, then join them into a pouch or table mat. The project teaches sequence without demanding garment sizing.
Offcuts + one repair
Use leftover lengths for visible mending on denim or a sturdy bag. Test washability first and keep the repair area smaller than the palm of a hand.
Page four / The saturated anchor
Let one strong colour do the heavy work
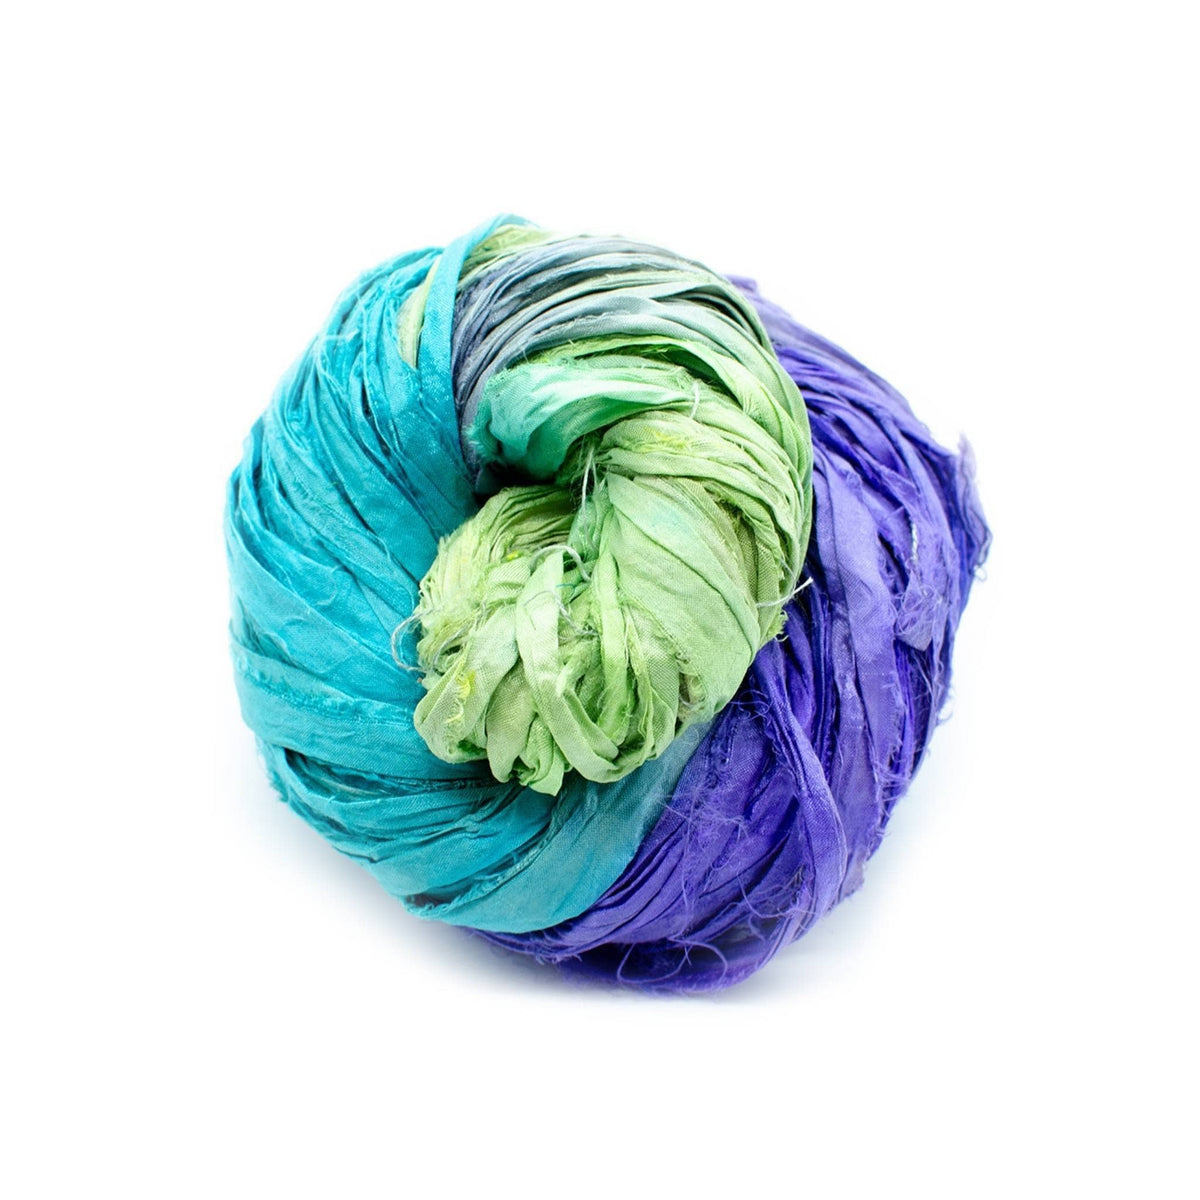
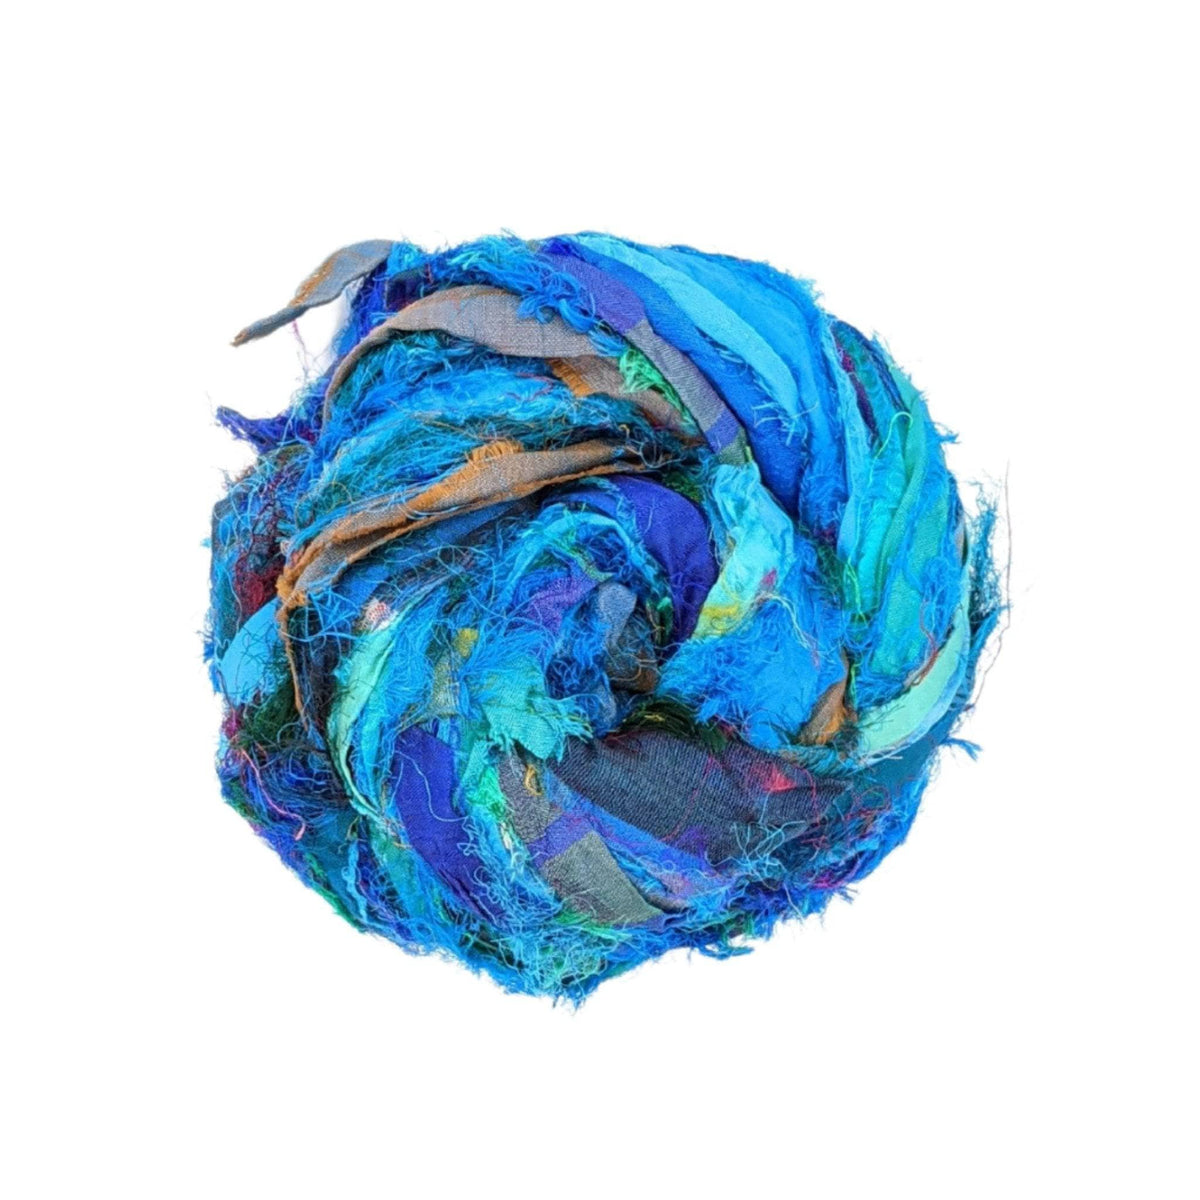
Turquoise can dominate a small project without becoming tiring when the form is simple. A coil bowl, narrow hanging or wrapped handle gives the colour an uninterrupted surface. The texture of sari ribbon adds changes within the blue-green family, so an elaborate stitch is unnecessary.
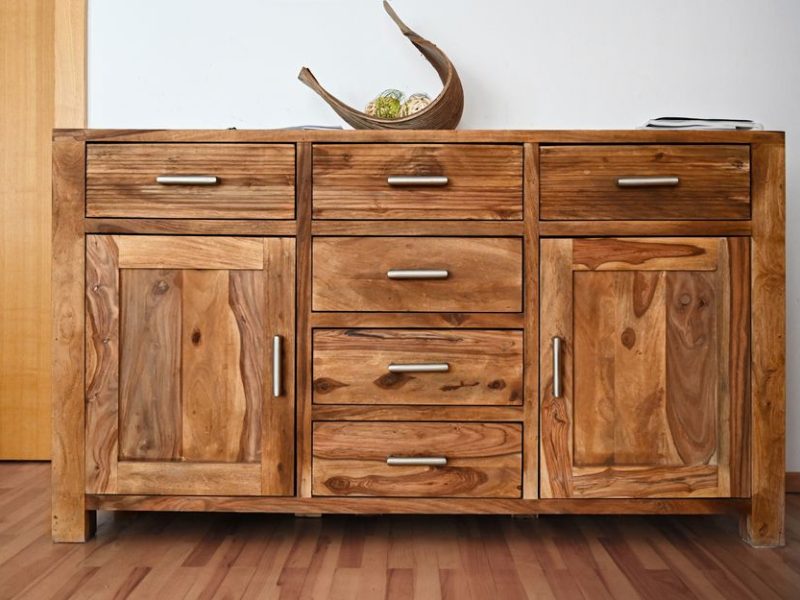
Place the material near the room where the object will live. A colour that feels exciting against a white craft table may behave differently beside warm timber, patterned curtains or a deep sofa. The home is the final palette, and the project should converse with it rather than match it exactly.
If the colour is already strong, use neutral joining thread and quiet hardware. Contrast should be chosen, not accidental.
Page five / The warm counterpoint
Use red where the eye should stop
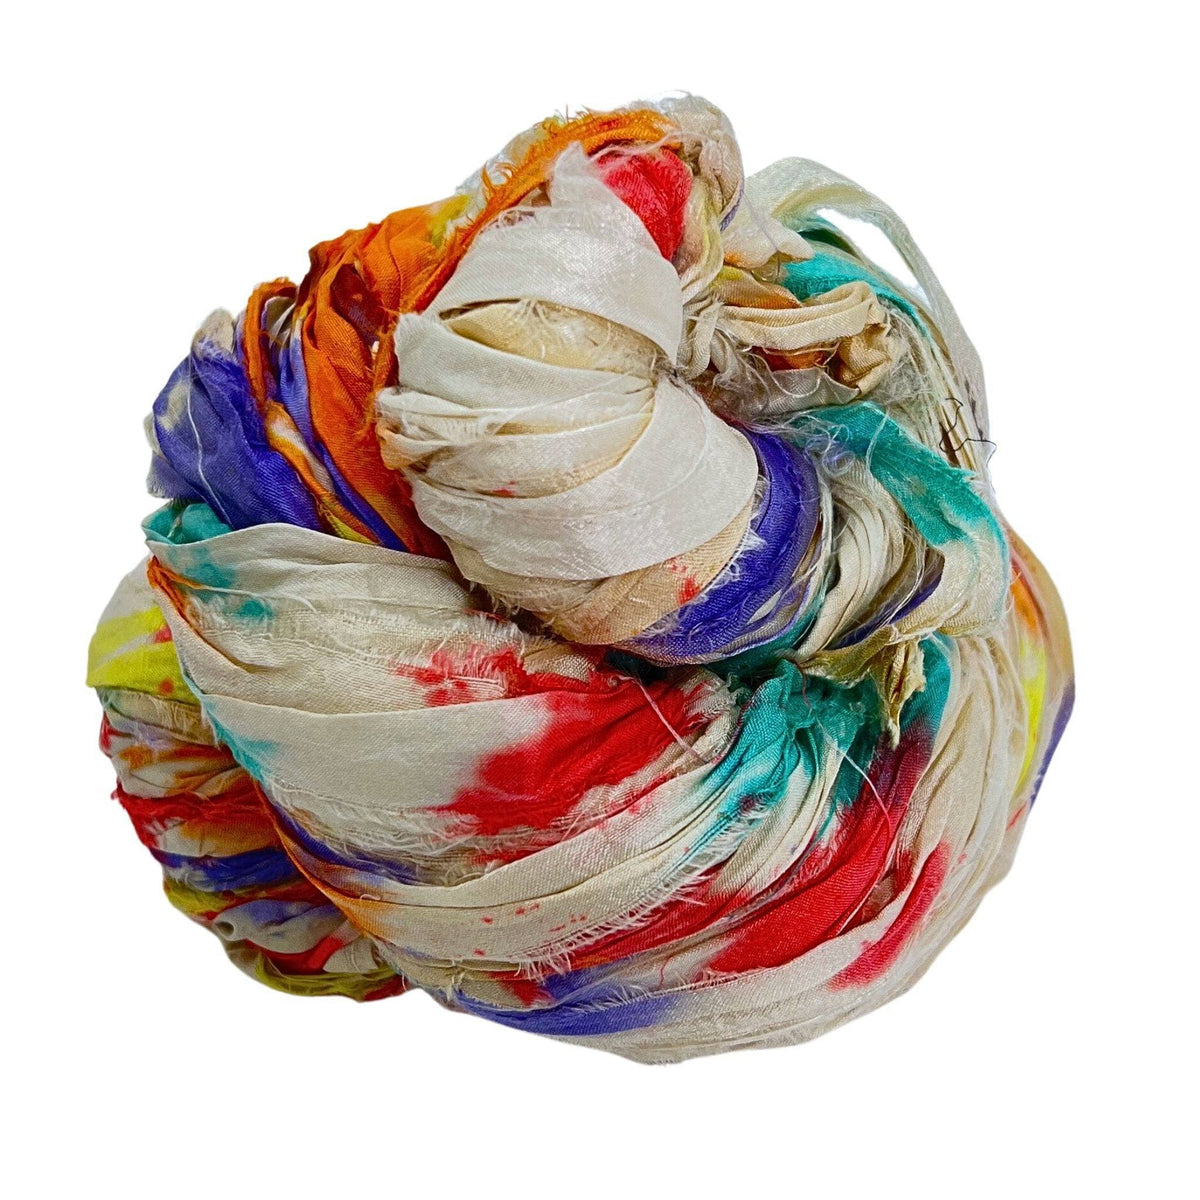
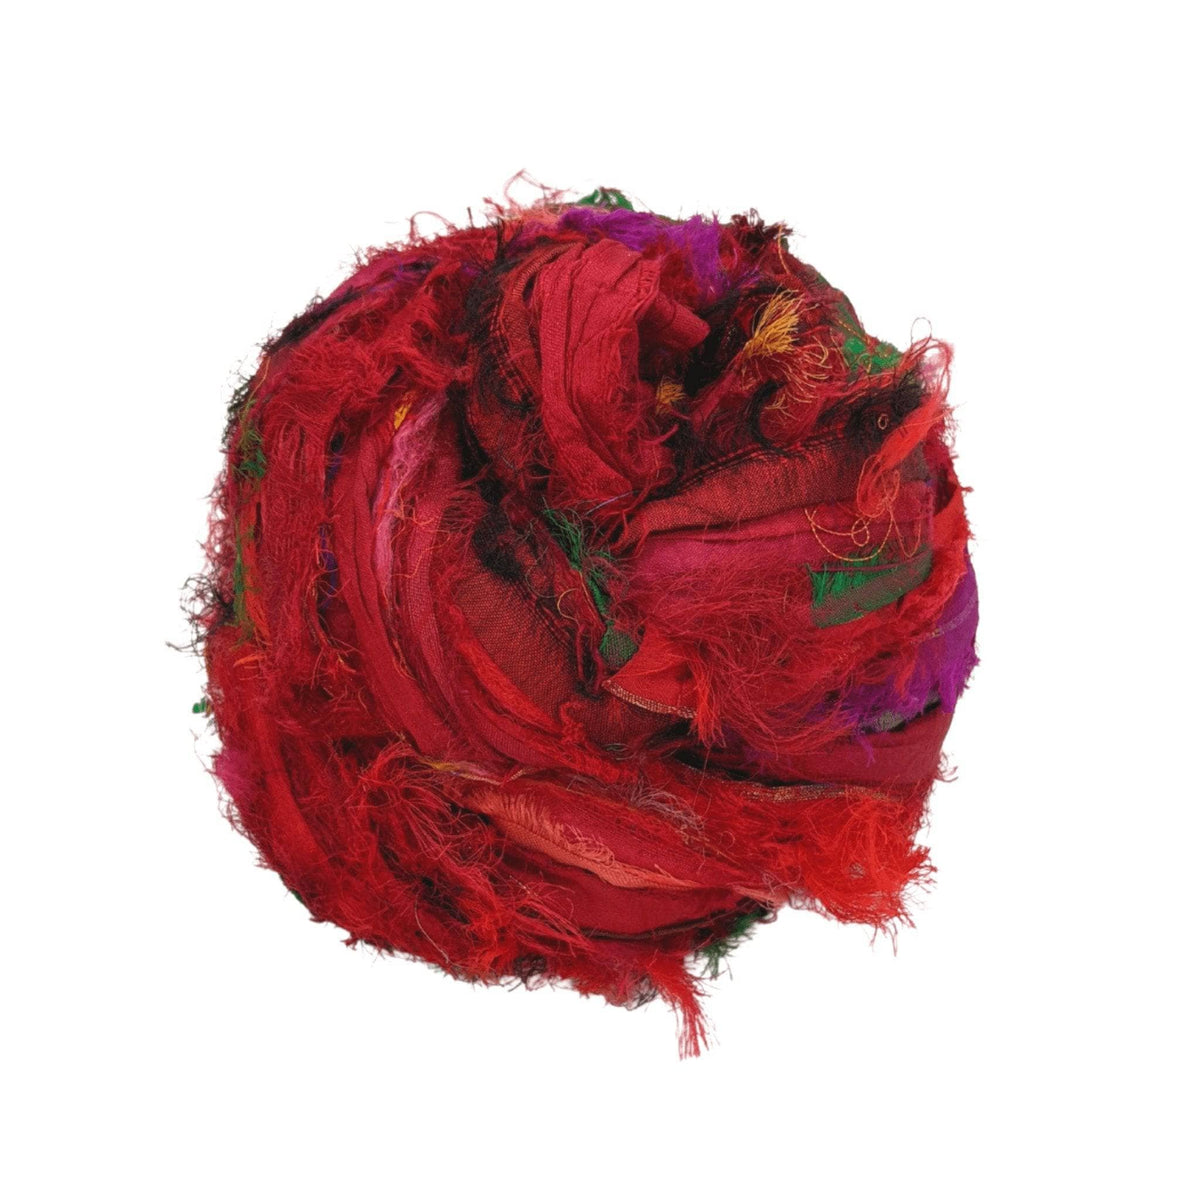
Red is effective in small amounts because it creates a visual full stop. Use it at a closure, border, handle wrap or final row. Repeating it once elsewhere makes the decision look intentional: a red tie at the top and two red stitches near the base can be enough.
When red and turquoise appear together, give one clear dominance. Equal amounts can feel restless, especially in a small object. The 60-30-10 exercise helps, with the second strong colour reduced to a spark.
Keep a strand of each unused colour on the project card. If the work stalls, compare the physical samples rather than buying another skein. Most palette problems are solved by changing proportion, not expanding the collection.
Page six / Reclaimed complexity
Read the strand before planning the repeat
Reclaimed sari ribbon contains history in the form of changing prints, joins and fiber widths. A strict geometric pattern may fight those variations. Simple structures such as braids, coils, broad crochet stitches and loose weaving allow the material to show its complexity without pretending to be uniform.
Unwind enough to see the colour sequence before cutting. If a bright section appears only once, decide whether to feature it at the centre or distribute it as shorter accents. Do not assume the next metre will match the first.
Because reclaimed material can vary, buy for a small object with room to adapt. A wall piece can end when the colour story feels complete; a fitted garment has less freedom. The project should respect the material’s unpredictability.