In a tiny studio, clutter does not stay in one bad corner. It spreads across the bed, kitchen counter, entryway, and the only chair you actually use. After years of living with small rooms, I have learned that the best storage hacks do not add more furniture first; they give every daily item a shorter trip back to its proper place.
Start with the floor plan, not another storage box
My strongest advice is simple: map the room before buying anything. A studio often feels full because furniture blocks movement, not because the apartment lacks storage. Measure the walking route from the entrance to the bathroom, bed, kitchen, and window. Keep the main path at least 28 to 32 inches wide when possible. That clearance matters more than squeezing in one extra cabinet.
Hack 1: Create three storage zones
Divide the apartment into three zones: arrival, living, and sleeping. The arrival zone should hold shoes, keys, bags, and coats. The living zone gets books, chargers, remote controls, and work items. The sleeping zone gets clothing and nighttime essentials. This prevents the classic studio problem where a jacket lands on the bed because the entryway has nowhere to receive it.
Hack 2: Store items where you remove them
Put a laundry hamper beside the place where clothes actually come off, not beside the wardrobe because that seems more logical. Keep a small tray near the door for keys and earbuds. Place cleaning supplies near the kitchen or bathroom they serve. Point-of-use storage cuts down on unfinished tidying because the correct home is only one step away.
Hack 3: Leave one surface intentionally empty
Choose one visible surface, such as half of the dining table or the top of a dresser, and keep it clear. This empty area acts as a reset point. If every surface becomes storage, the apartment will still look messy after you organize it. One open surface gives the eye somewhere to rest and makes the whole room feel larger.
Use hidden capacity before adding visible furniture
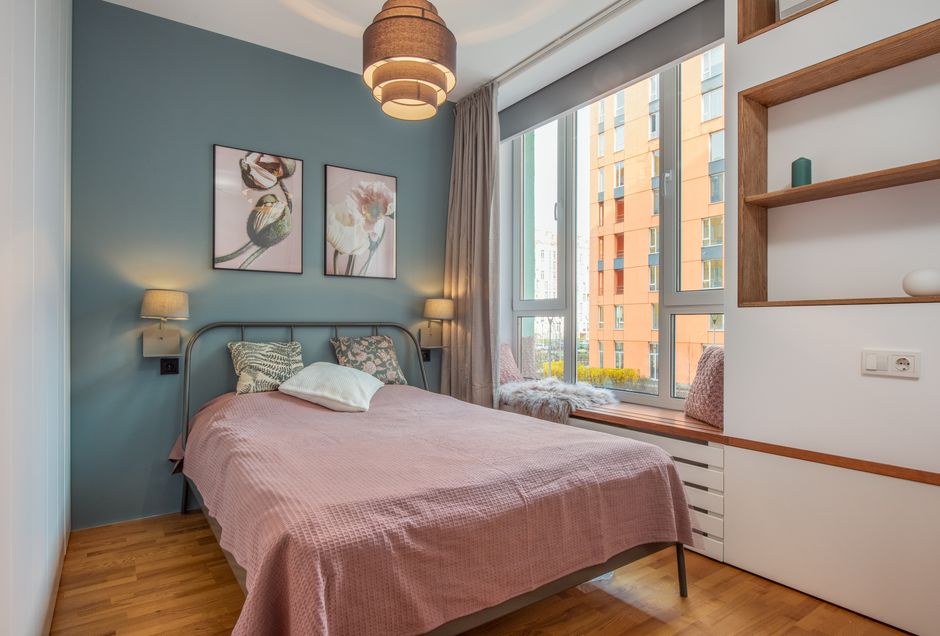
The best small-apartment storage is often already built into the room. The underside of a bed, the back of a door, the gap beside a refrigerator, and the space above kitchen cabinets can each hold useful items. The winning approach is to use these areas for things you need occasionally, while keeping daily items at waist or eye level.
Hack 4: Turn dead gaps into measured storage
Look for gaps between 4 and 10 inches wide. A narrow rolling shelf can hold spices, bathroom supplies, or extra cleaning products, but only if the shelf fits without rubbing the wall or blocking a door. Measure the full opening, including baseboards and handles. A storage unit that technically fits but cannot roll out is wasted money.
Hack 5: Give doors a second job
Use the back of a bedroom or bathroom door for flat, light items: hats, scarves, reusable shopping bags, hair tools, or cleaning cloths. Keep the total load modest so the hinges do not sag. Door storage is a poor choice for heavy books, large shoes, or anything that makes the door swing into a narrow walkway.
| Unused area | Best items to store | Limit to remember |
|---|---|---|
| Under the bed | Seasonal clothes, spare bedding, luggage | Use lidded bins to block dust |
| Back of a door | Accessories, bags, light cleaning tools | Avoid heavy loads |
| Above cabinets | Serving pieces, rarely used appliances | Keep items in matching bins |
| Refrigerator gap | Spices, foil, baking supplies | Measure handles and baseboards |
My verdict: hidden capacity should be filled before you buy a tall bookcase or another freestanding drawer unit. It adds storage without stealing the visual and physical space you are trying to protect.
Choose storage that earns its footprint
Once the hidden areas are working, add only pieces that solve two problems at once. I prefer compact storage that can move, stack, fold, or serve another purpose. A product can be well made and still be wrong for a studio if it creates a new obstacle or becomes a dumping zone.
Hack 6: Pick narrow, mobile pieces
The IKEA RÅSKOG utility cart, usually around $40 and roughly 13 by 18 inches, works well beside a desk or kitchen because it can move when the room changes roles. It is best for pantry goods, craft supplies, or toiletries. It is not a substitute for a pantry: open baskets expose visual clutter, and the cart becomes annoying if you overload it.
Hack 7: Build a vertical command center
The IKEA SKÅDIS pegboard system, with common 22 by 22 inch boards priced around $20 before accessories, is useful above a desk or beside a kitchen work area. Add only the hooks and shelves you use every week. A pegboard covered with random tools looks busy, while a small arrangement for scissors, headphones, mail, and keys can replace several containers.
For a more polished option, the Yamazaki Tower Slim Rolling Storage Cart often costs about $75 to $90 and is only a few inches wide. It suits narrow bathroom or kitchen gaps, but the higher price makes sense only when its slim profile solves a real measurement problem. Do not buy it simply because it photographs well.
Skip oversized cube shelving when the room has no clear wall for it. Large open shelving tends to collect half-used objects and makes a studio look fragmented. A closed cabinet, a slim cart, or two carefully chosen shelves usually gives a cleaner result.
Fix the storage habits that create repeat clutter
Storage cannot rescue a room when the daily routine fights the layout. The useful question is not “Where can I put this?” but “Why does this item keep landing here?” The answer often points to a missing step, an overfilled category, or a storage location that takes too much effort to use.
Why does the entryway become a pile?
Usually, the apartment lacks a landing surface or the landing surface is too far from the door. Put one tray, one hook, and one small container within arm’s reach of the entrance. Limit each category to what fits there. If five coats compete for two hooks, the issue is capacity, not motivation.
Why do clothes overflow from the wardrobe?
Separate daily clothes from low-frequency clothing. Keep the current season in the easiest-to-reach drawers and move formalwear, beachwear, or bulky winter items under the bed. If a drawer cannot close smoothly, remove items before buying organizers. Dividers help with small pieces, but they do not create extra volume.
Why does the kitchen counter stay crowded?
Keep only daily appliances on the counter. Store occasional appliances in one labeled cabinet or on a high shelf. If an appliance takes more than a minute to retrieve, you may use the counter as a shortcut. In that case, move the appliance closer rather than blaming the habit. The best system is the one that matches the way you actually cook.
Make the final storage decision before you buy
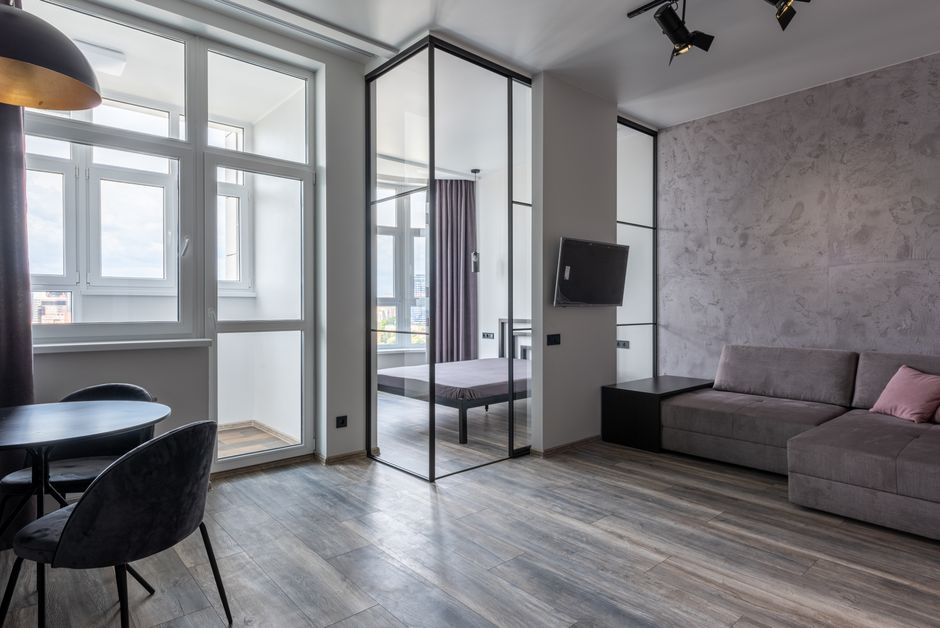
Buy less, but make each item prove its place. My favorite studio layouts have fewer storage products than expected because every piece has a defined job, a measured footprint, and a limit.
Use this nine-hack reset
- Measure the main walking routes.
- Divide the room into arrival, living, and sleeping zones.
- Store items where you remove or use them.
- Fill under-bed space with sealed seasonal storage.
- Use door backs for light, flat items.
- Turn narrow gaps into rolling storage only after measuring them.
- Choose mobile pieces for rooms with changing functions.
- Move occasional items away from daily surfaces.
- Set a capacity limit for every drawer, hook, tray, and shelf.
Know when not to buy storage
Do not buy a basket for a category you have not reduced. Do not buy a tall shelf that narrows the walkway below 28 inches. Do not buy matching containers for items that will never share a location. If the same clutter returns after two weeks, change the location or remove the excess instead of adding another organizer.
A tiny studio will never behave like a large home, and that is fine. The goal for 2026 is not to hide every possession. It is to make the small room easy to reset, pleasant to move through, and flexible enough for the next stage of life.