Most people think a high-end kitchen backsplash requires expensive marble slabs or custom-cut stone. That’s wrong. I’ve installed backsplashes in six kitchens over the last decade, and the cheapest one — a $120 peel-and-stick project — gets more compliments than the $2,000 marble one I did for a friend. The secret isn’t the material. It’s the execution.
Here’s what I’ve learned from doing it wrong, doing it right, and helping friends avoid the same costly mistakes.
Why Expensive Tile Is Usually a Waste of Money
I see it all the time. Someone drops $800 on handcrafted zellige tiles, then has them installed poorly by a handyman who leaves uneven grout lines. The result looks worse than a $50-per-box subway tile job done carefully.
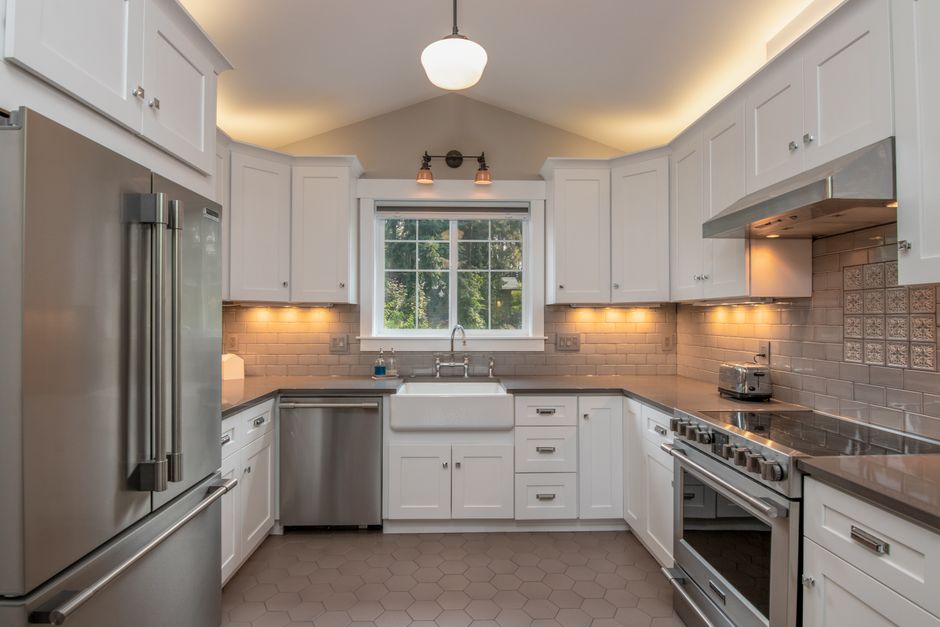
The reality is that 90% of what reads as “high-end” in a kitchen backsplash comes from three things: clean lines, proper spacing, and a professional-looking finish. Not the cost of the tile itself. I’ve stood in $50,000 kitchens where the backsplash was basic 3×6 subway tile laid in a herringbone pattern. It looked incredible because the installation was flawless.
What Actually Matters for a High-End Look
- Grout color — matching grout to the tile makes the surface look seamless. Contrasting grout draws attention to every imperfection.
- Consistent spacing — use 1/16-inch spacers for a tight, expensive feel. Wider gaps look cheap.
- Clean edges — a finished edge at the counter and cabinets makes or breaks the whole thing. Use trim pieces.
My verdict: Spend your money on good tools and prep, not on the tile itself. A $2 tube of caulk applied correctly does more for the look than a $10-per-square-foot tile ever will.
The Best Material for a Budget High-End Backsplash
After trying ceramic, porcelain, glass, and metal, I keep coming back to one material for the best price-to-look ratio: large-format porcelain tile. Specifically, the MSI Calacatta Lusso 12×24-inch ($3.49 per square foot at Floor & Decor). It mimics Carrara marble so well that I’ve had contractors ask me where I sourced my marble.
The large format means fewer grout lines, which instantly reads as more expensive. And porcelain is forgiving to cut with a basic wet saw — unlike natural stone, which chips easily.
Two Other Options I’ve Used Successfully
Peel-and-stick marble-look panels from Smart Tiles ($89 for a 10-square-foot pack). I was skeptical until I installed these in my rental property. The key is prepping the wall perfectly — sanding, cleaning, and using a primer. If the wall is smooth, these look like real marble from three feet away. They’re not for behind a stove where grease splatters, but for a coffee station or bar area? Perfect.
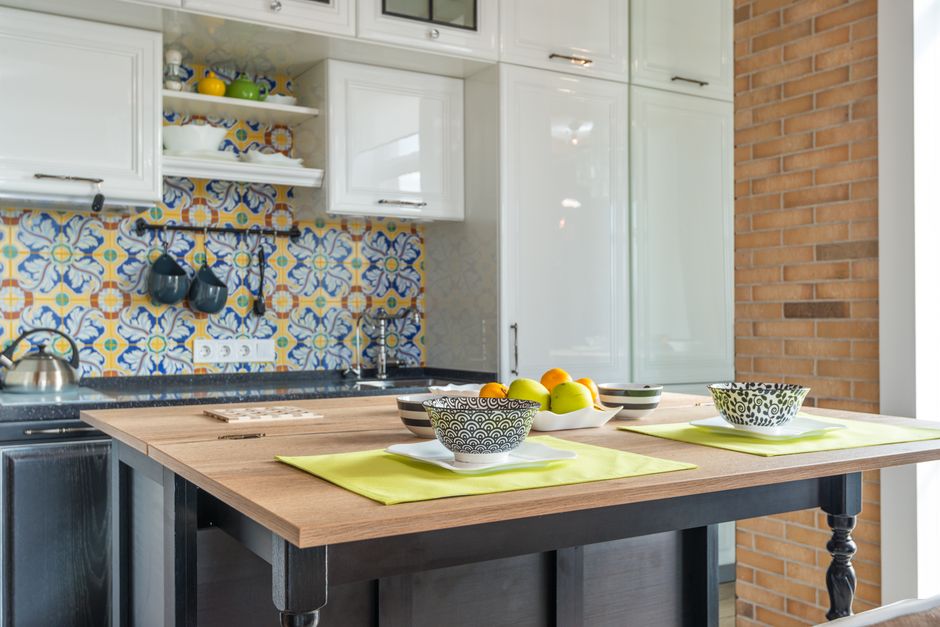
Glossy white 3×6 subway tile from Daltile ($1.89 per square foot). It’s a cliché for a reason. Laid in a vertical stack bond instead of the traditional running bond, it looks modern and clean. I did this in my own kitchen for $140 total, including thinset and grout.
Step-by-Step: How I Install a High-End-Looking Backsplash for Under $200
Here’s the exact process I follow. It takes a weekend, but the results are worth it.
- Measure twice, buy once. Measure the square footage of your backsplash area, then add 10% for waste. For a standard 30-square-foot kitchen, buy 33 square feet of tile.
- Prep the wall. Remove outlet covers. Clean with TSP substitute. Sand any glossy paint. Apply a coat of primer — I use Zinsser Bulls Eye 1-2-3 ($15 per gallon). This step is non-negotiable. Skipping it means tiles fall off.
- Plan your layout. Find the center of your wall. Dry-lay a row of tiles to see how cuts fall at the edges. Adjust so you don’t end up with a 1-inch sliver at the end.
- Mix thinset. Use a pre-mixed thinset like Custom Building Products VersaBond ($13 per bag). Don’t use mastic — it takes forever to dry and isn’t as strong.
- Apply thinset with a 1/4-inch notch trowel. Work in small sections — about 2 feet wide. Comb in one direction for consistent coverage.
- Set the tiles. Press firmly. Use 1/16-inch spacers. Check level every three rows. Fix immediately — thinset sets in about 15 minutes.
- Let it dry 24 hours. Then grout with a sanded grout that matches your tile color. I use Mapei Keracolor in Warm Gray ($18 per 10-pound box) for white tiles — it hides imperfections without being too dark.
- Caulk the edges. Use a paintable silicone caulk where tile meets counter and cabinets. A neat bead of caulk makes the whole job look professional.
Total cost for my last project: $184. That’s tile, thinset, grout, spacers, trowel, primer, and caulk. The same job with a contractor would have been $1,200.
Three Mistakes That Will Ruin Your Backsplash (I Made All of Them)
I want you to avoid the stupid stuff I did on my first attempt.
Mistake 1: Using the Wrong Grout
I used unsanded grout on 1/16-inch joints because the guy at the hardware store said it was fine. It cracked within three months. Use sanded grout for any joint wider than 1/8 inch. For tight joints, use unsanded — but only if you’re absolutely sure the joint is under 1/8 inch.
Mistake 2: Not Checking for Level
My first row was slightly off level. By row five, the tiles were visibly slanted. I had to rip them all off. Use a 4-foot level every three rows. Don’t trust the spacers alone — they keep spacing consistent, not level.
Mistake 3: Forgetting to Seal
If you use natural stone or a matte porcelain, seal the grout and tile with a penetrating sealer like Miracle Sealants 511 Impregnator ($22 per quart). I didn’t. Now there’s a permanent grease stain behind my stove.
When NOT to Do a Budget Backsplash
I’m not saying peel-and-stick or cheap tile works everywhere. Here’s when you should spend more.
Behind a gas range. If you cook with high heat, peel-and-stick panels will delaminate within a year. Use ceramic or porcelain tile with a heat rating of at least 300°F. The Daltile Restore 4×8 ($2.89 per square foot) handles heat well and looks like handmade tile.
In a wet area. If your backsplash extends behind a sink with no counter, use a waterproof backer board under the tile. Regular drywall will swell and crumble. Durock cement board ($14 per sheet) is the standard here.
If you plan to sell within two years. A high-end realtor once told me that a cheap-looking backsplash can knock $5,000 off your home’s perceived value. If you’re selling, spend the extra $200 on better tile. Go with Bedrosians Cloe 4×12 in gloss white ($4.49 per square foot) — it’s the tile I see in every flip house that sells fast.
The One Tool That Makes the Biggest Difference
If you buy only one tool for this project, make it a wet saw. Not a manual snap cutter — those leave chipped edges on porcelain. I use the SKIL 7-Inch Wet Saw ($89 at Home Depot). It cuts porcelain like butter and gives clean, straight edges every time.
For cuts around outlets, use a 4-inch angle grinder with a diamond blade ($20 at Harbor Freight). Mark the outlet location on the tile, cut from the back side, and the finished edge faces outward. I’ve seen people use a drill with a tile bit — it takes forever and looks terrible. Don’t do it.
Final thought: The best backsplash isn’t the one with the most expensive tile. It’s the one installed with patience, the right tools, and attention to the edges and grout. I’ve proved this in my own kitchen — and in four friends’ kitchens — with materials under $200. You can too.