You want that $2,000 custom-wall look. Your wallet says $150. Can you actually pull it off?
Yes. But only if you skip the mistakes that turn a cheap project into a money pit. I’ve built three of these walls in different houses. The first one cost me $220 and a weekend of frustration. The last one cost $137 and took six hours. The difference wasn’t skill — it was knowing exactly what to buy and what to avoid.
Here’s the exact system that works in 2026, with current lumber prices and tool requirements.
Why Board and Batten Works — and Where It Fails
Board and batten adds vertical lines to a room. Those lines make ceilings look higher and walls feel wider. It’s the cheapest way to add architectural detail without moving anything structural.
The failure point is always the same: people buy the wrong material. You see a Pinterest photo with smooth, painted wood. You grab standard pine boards from the big-box store. Two weeks later, the knots bleed through the paint and the boards cup because you didn’t let them acclimate.
Here’s the rule: use MDF or primed finger-jointed pine. Solid pine is fine if you’re staining. For painted walls, MDF is cheaper, straighter, and won’t warp if you install it right. A 1x4x8 MDF board runs about $7.50 at Home Depot in early 2026. Same size in primed pine: $11.00. The MDF wins for painted applications.
This wall type solves the problem of a blank, boring room. It does not solve bad drywall. If your wall has major cracks or uneven texture, fix those first. The battens will amplify every imperfection.
Exact Materials List — Under $150
This list builds a 10-foot-wide wall with 8-foot ceilings. Adjust quantities proportionally for your wall size.
| Item | Quantity | Cost |
|---|---|---|
| 1×4 MDF boards (8 ft) | 6 | $45.00 |
| 1×2 MDF boards (8 ft) — for top rail | 2 | $12.00 |
| Liquid Nails Heavy Duty construction adhesive | 1 tube | $5.50 |
| 18-gauge brad nails (1.25 inch) | 1 box | $8.00 |
| Painter’s caulk (DAP Alex Plus) | 1 tube | $4.00 |
| Primer (Zinsser BIN shellac-based) | 1 quart | $18.00 |
| Paint (Behr Marquee, your color) | 1 gallon | $45.00 |
| Sandpaper (120 and 220 grit) | 1 pack | $6.00 |
| Total | $143.50 |
You need a miter saw or hand saw, a brad nailer (rental ~$25/day from Home Depot), and a level. If you don’t own a nailer, add $25 to your budget. Still under $170.
Step-by-Step: How to Install It
Step 1: Mark Your Layout
Measure the wall width. Divide by the number of battens you want. Standard spacing is 16 to 20 inches on center. Mark vertical lines with a level. Do not trust the ceiling or floor to be level — use a 4-foot level for every line.
Mark the top rail height. Most people run it 8-10 inches below the ceiling. That leaves room for crown molding later if you want it.
Step 2: Cut the Top Rail and Bottom Base
Cut the 1×2 boards to wall width. The top rail sits horizontally across the wall. The bottom of your battens will sit on the existing baseboard — you don’t need a bottom rail unless your baseboard is damaged.
Pro tip: cut all battens at once. Measure the height from floor (baseboard top) to your top rail mark. Subtract 1/8 inch for wiggle room. Cut all battens to that length.
Step 3: Apply Adhesive and Nail
Run a bead of Liquid Nails down the back of each batten. Press it against the wall on your marked line. Secure with two brad nails at the top, two at the bottom, and one every 16 inches in between. The adhesive does the real holding — the nails just hold it in place while the glue cures.
Install the top rail the same way. Butt the battens against it. If your wall isn’t perfectly straight, you’ll see gaps. That’s what caulk is for.
Step 4: Fill, Caulk, Sand, Paint
Fill all nail holes with spackle. Let dry. Sand with 120 grit, then 220 grit. Run a bead of caulk along every seam — where battens meet the wall, where they meet the top rail, and along the baseboard. Smooth with a wet finger.
Prime everything with shellac-based primer. This blocks MDF from absorbing paint unevenly and prevents tannin bleed from pine. Paint two coats. Done.
Three Mistakes That Will Ruin Your Wall
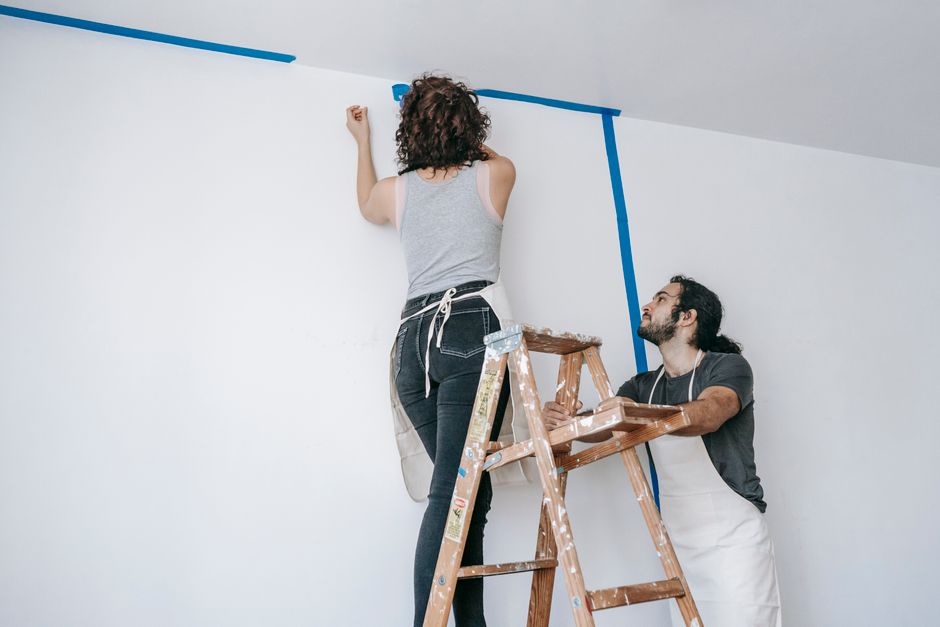
Mistake 1: Skipping the primer. MDF soaks up water-based paint like a sponge. Without shellac primer, you’ll need four coats of paint and the edges will look fuzzy. Zinsser BIN costs $18. Buy it.
Mistake 2: Nailing into nothing. Brad nails alone won’t hold MDF long-term. The wood expands and contracts with humidity. Nails pop out. Construction adhesive creates a permanent bond. Use both.
Mistake 3: Uneven spacing at corners. When you reach the end of the wall, the last gap might be 6 inches while others are 18. That looks sloppy. Adjust your spacing slightly across the whole wall so the end gaps are symmetrical. A 1/4 inch difference per bay is invisible.
When NOT to Build a Board and Batten Wall
This wall works best in rooms with standard 8-foot ceilings. If your ceiling is under 7 feet, the vertical lines will make it feel claustrophobic. Skip it.
If your walls have heavy texture (popcorn, orange peel, knockdown), you have two options: skim coat the entire wall first, or choose a different project. Battens against textured walls leave visible gaps that caulk can’t fully hide.
Consider shiplap if you want a more rustic look. Consider picture frame molding if you want a formal dining room feel. Board and batten is clean, modern, and cheap — but it’s not right for every space.
Renters: this wall is reversible if you use adhesive-only installation and caulk that can be scraped off. But expect to repaint the wall when you leave. The caulk will tear the paint.
Real Cost Breakdown: What $150 Actually Buys
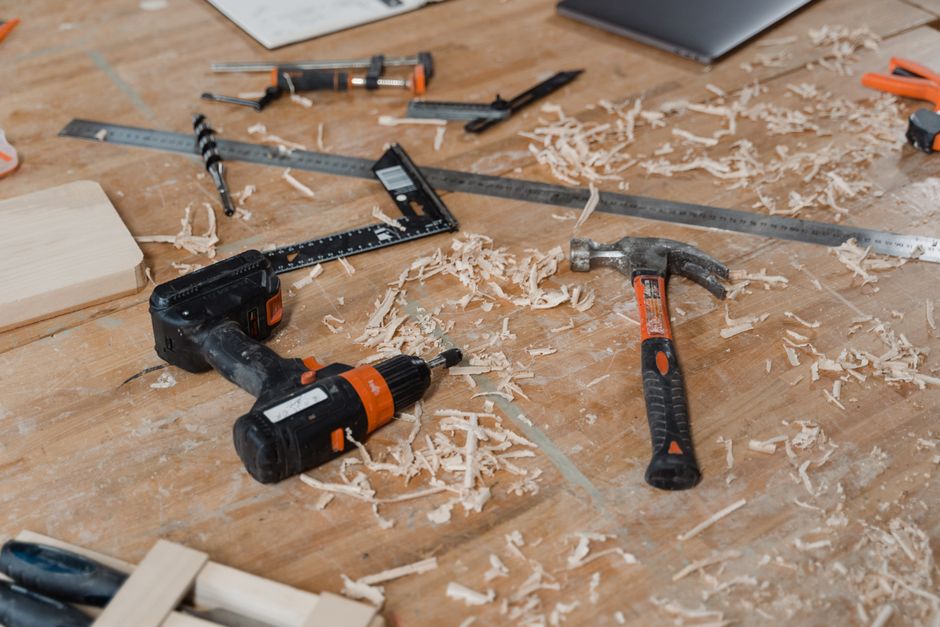
That $150 covers materials only. Tools add cost if you don’t own them. Here’s the honest math:
- Miter saw rental: $25/day
- Brad nailer rental: $25/day
- Air compressor rental: $30/day (or buy a Ryobi battery-powered nailer for $99)
- Level: $15-30
If you own nothing, budget $200 total. If you borrow a nailer from a friend, you’re at $150.
Compare that to a contractor quote. I called three local companies in January 2026. Average price for a 10×8 board and batten wall: $780. That’s materials and labor. Doing it yourself saves $630. At $50/hour for your time, you’re earning more than the contractor’s rate.
The math works. The materials are cheap. The skill ceiling is low. The only variable is whether you’ll actually finish the caulking — because that’s the part that separates a $150 wall from a $150 mistake.